


Stripe Subscription With Astroship
A starter for high-performance SaaS applications, powered by Stripe and Astroship.
| Framework | Astro |
| Payment | Stripe |
| Database | Supabase |
| CMS | Contentful |
| Use Case | SaaS |


SaaS Site Template with Supabase and Stripe
Template Overview
This template implements almost all common features of a SaaS site, including user management, subscription payments, and podcast content. Backend: Supabase + Stripe Content CMS: Contentful Frontend: AstroJS The template code is open source. You can modify it and adopt specific modules or implementations.
1. Preparation
Supabase
This template uses Supabase API for order data and user management.
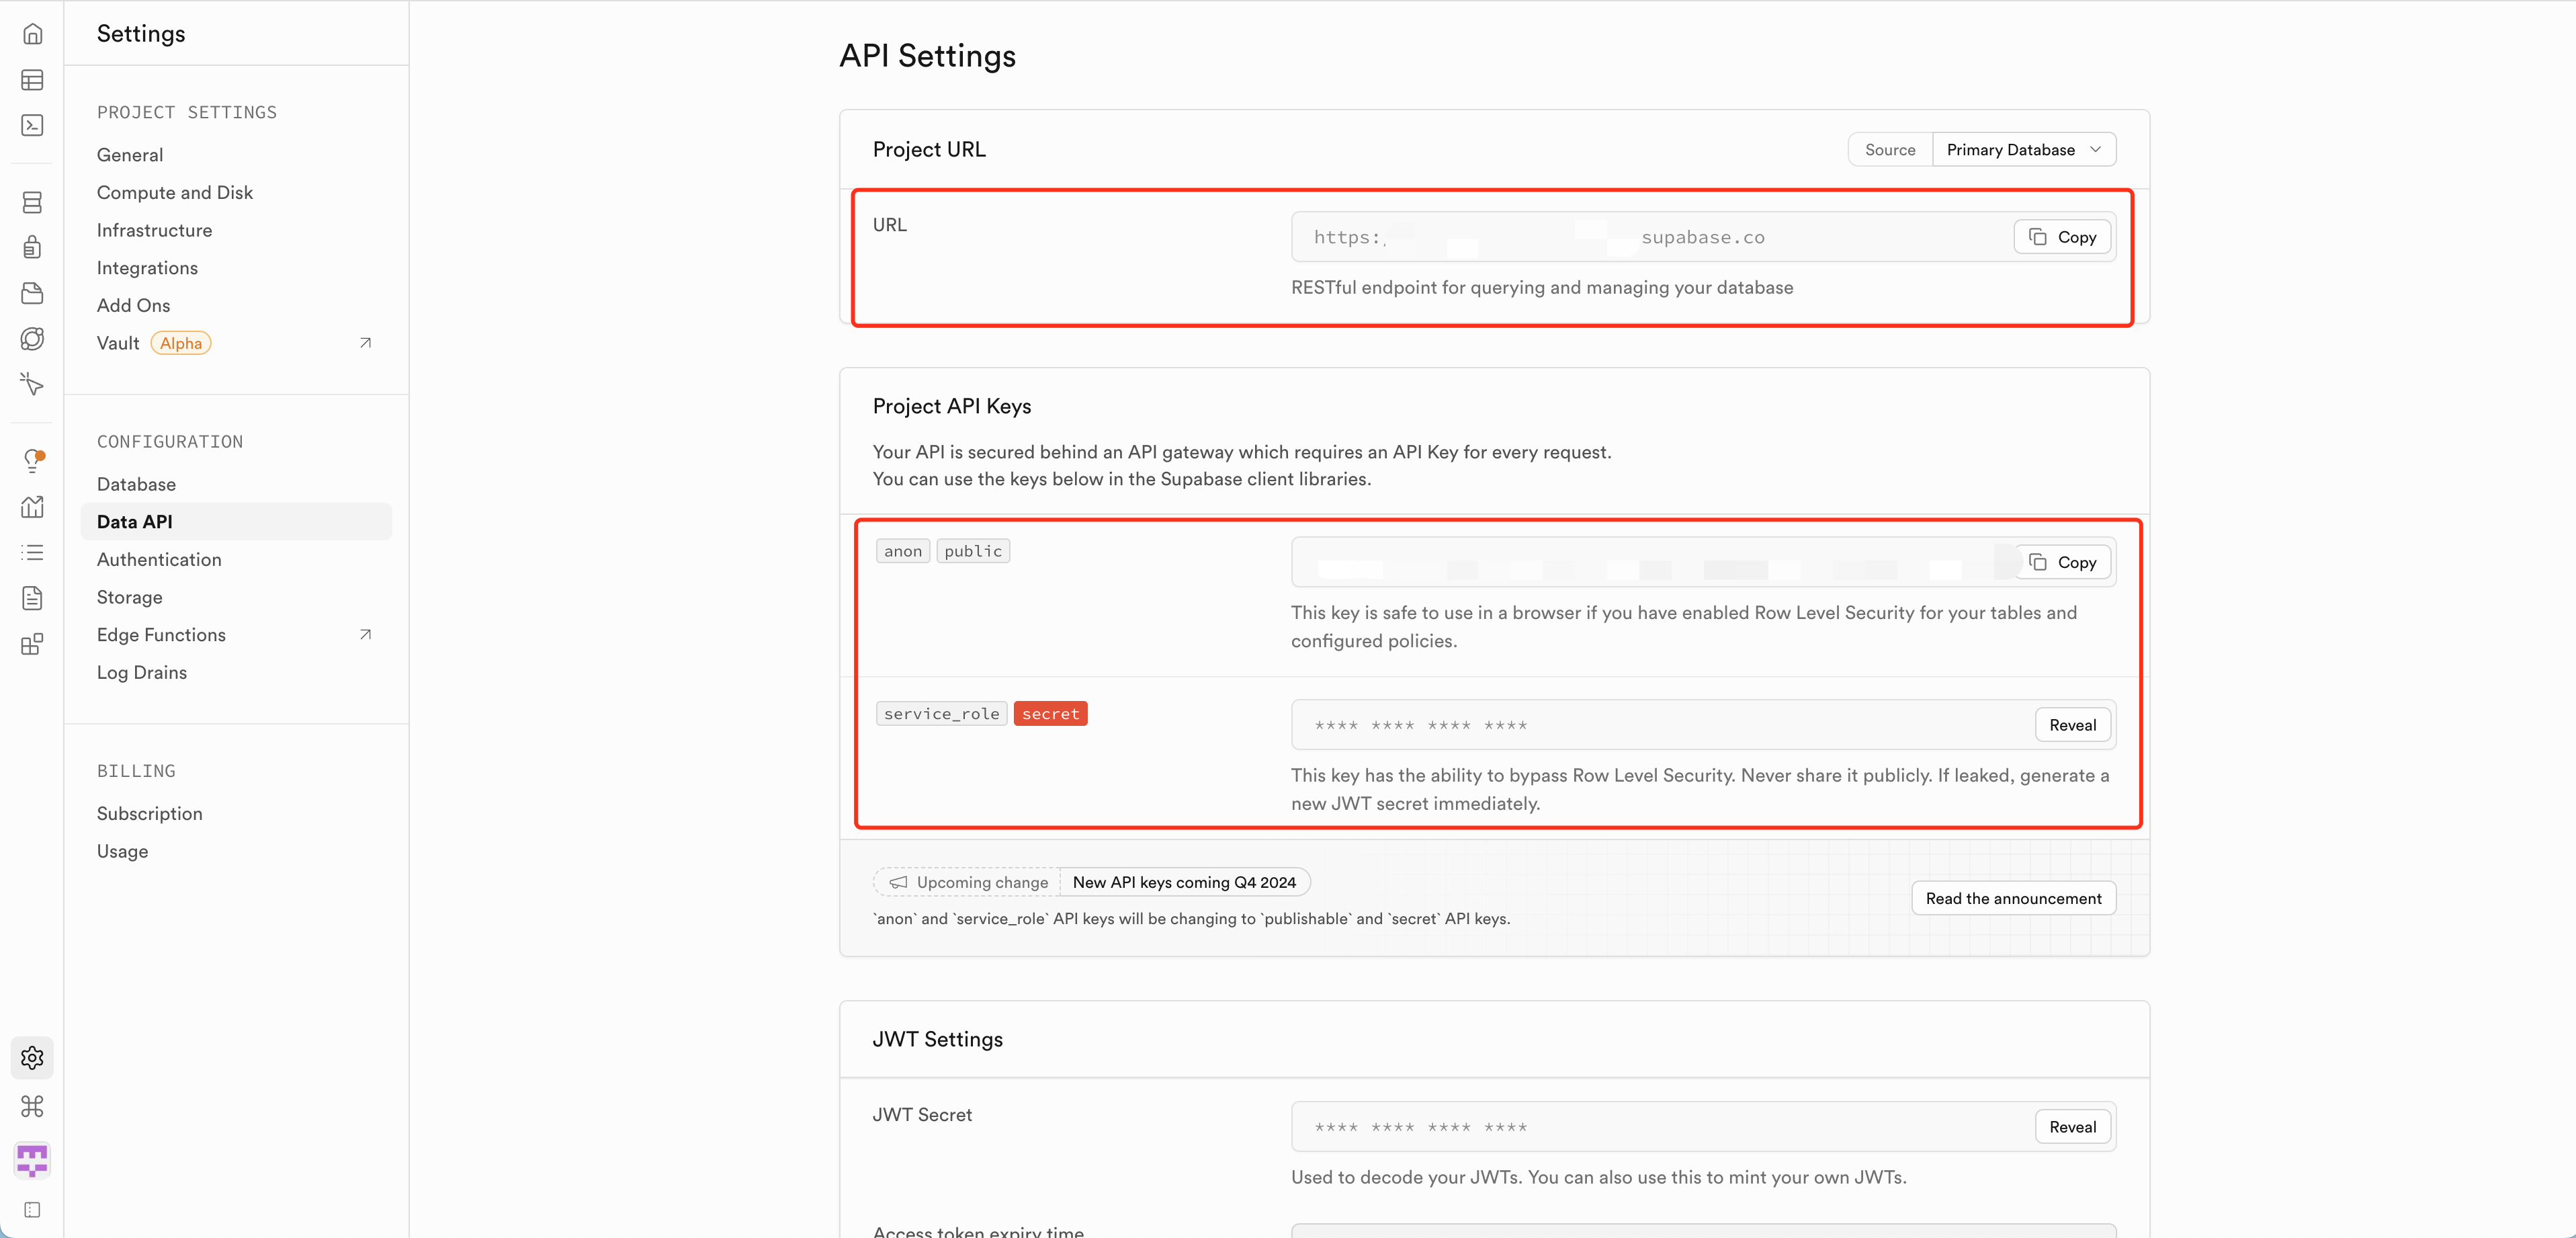
Prepare API Keys
After registering and logging into Supabase, create your own project.
Go to Project Settings - Data API, copy Project Url, Anon Public Key, and Service_role Secret Key.
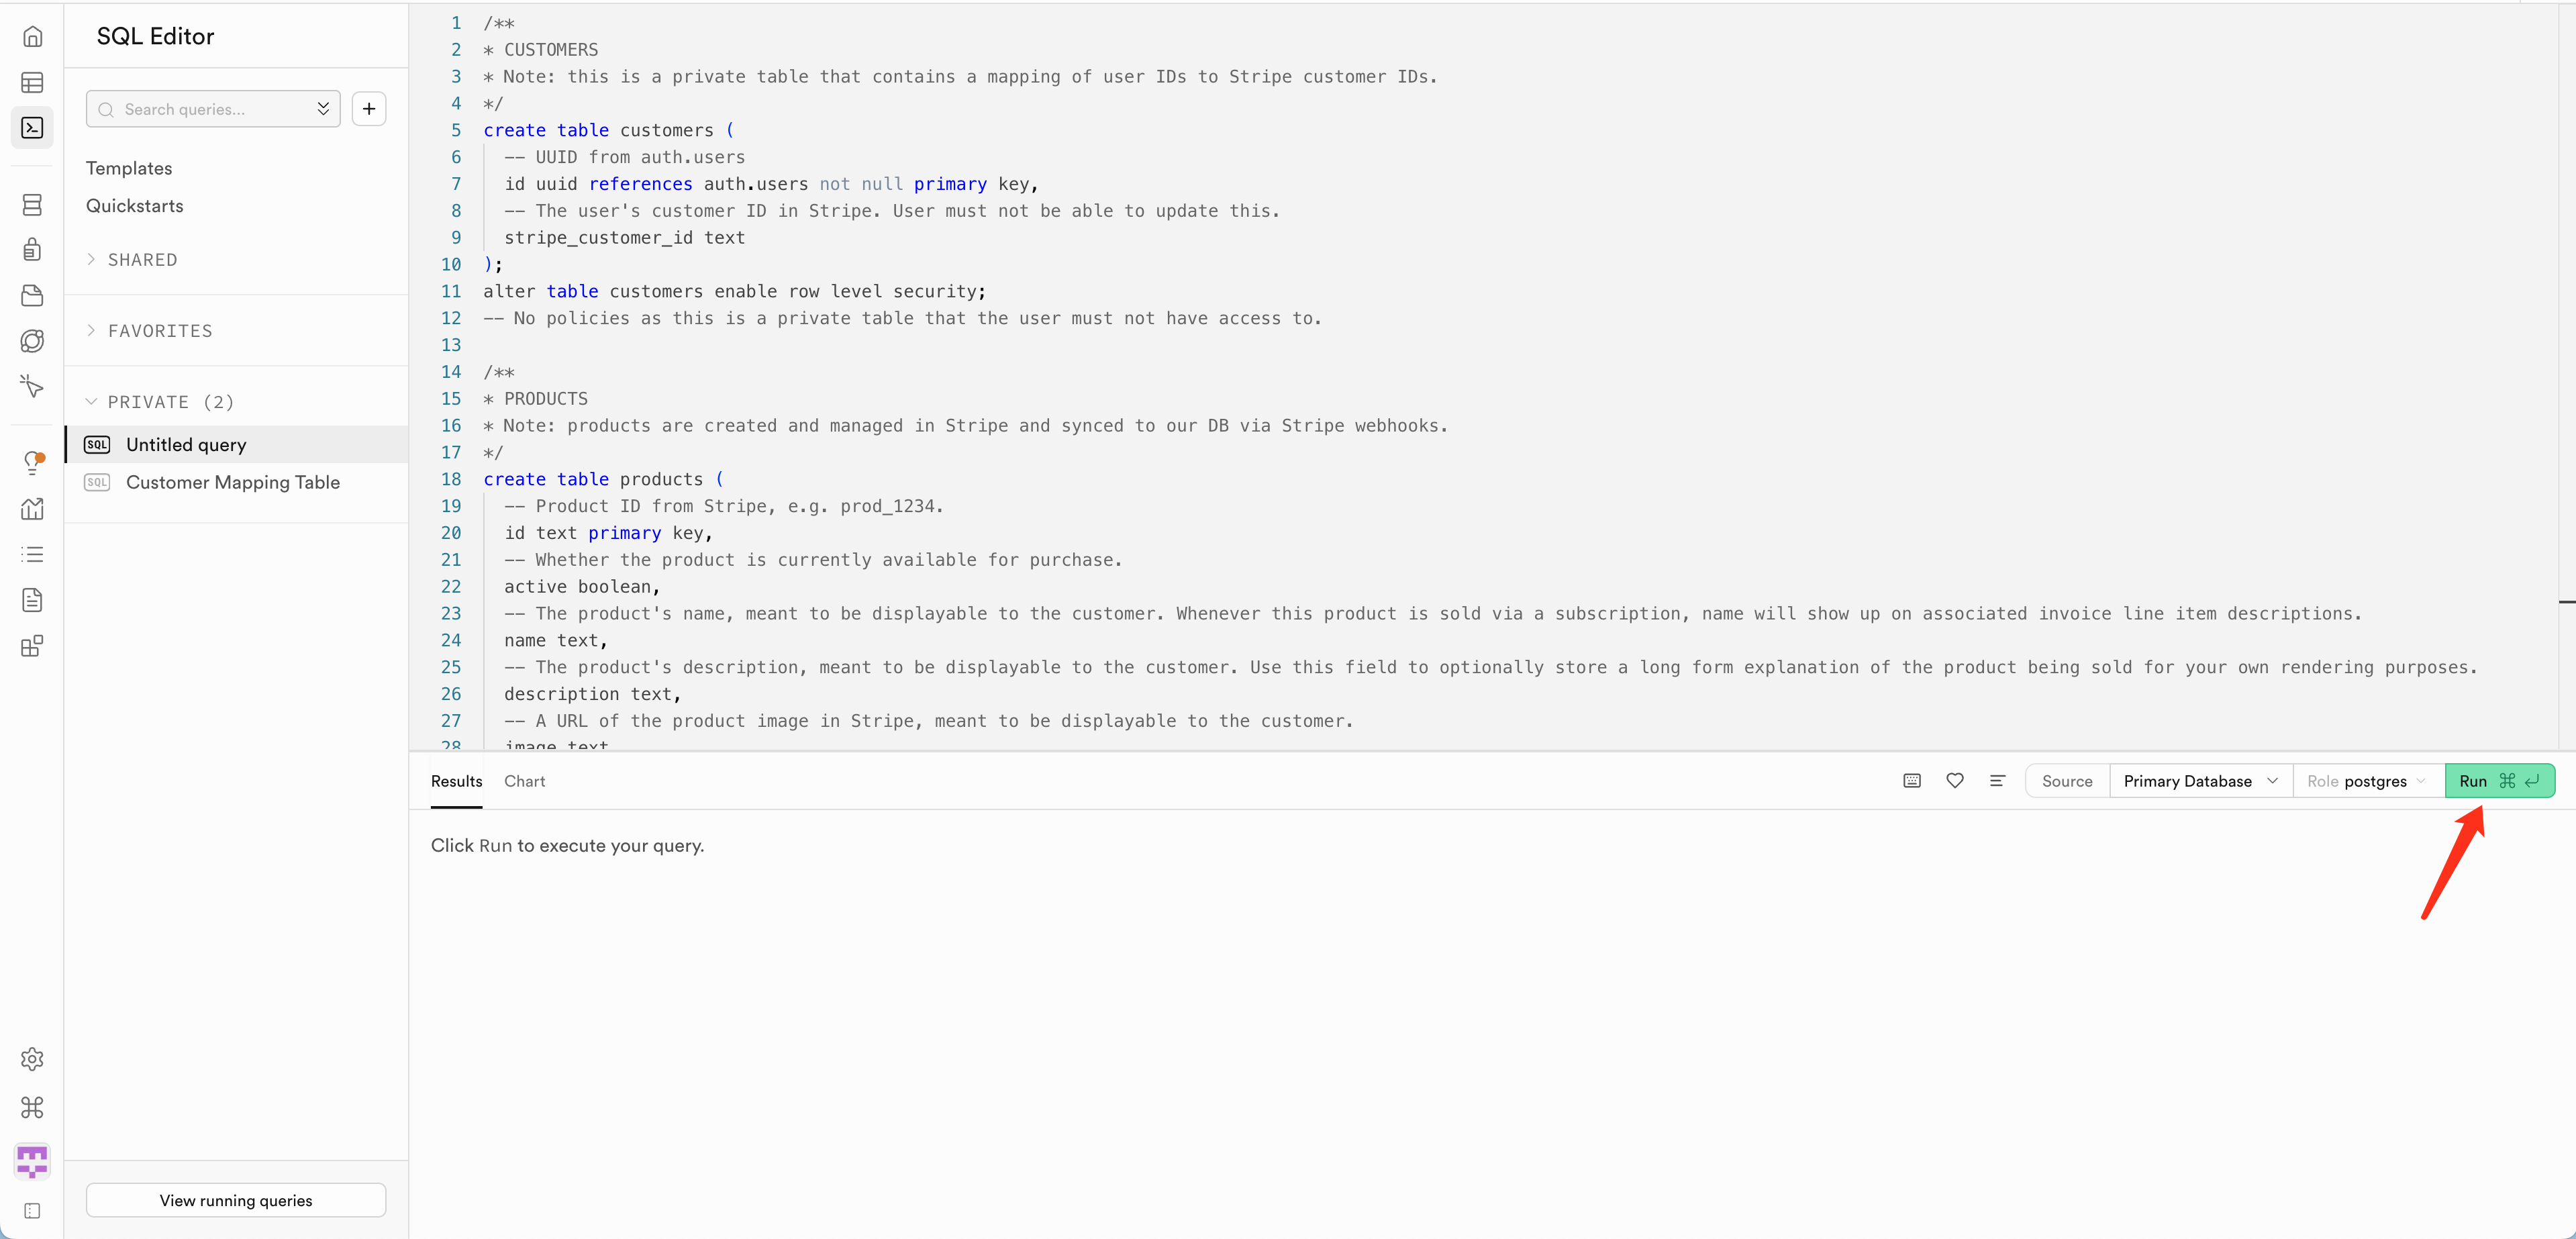
Initialize Database
After registration, create a new project in Supabase. Copy the content from database initialization file into Supabase console's SQL Editor to initialize the database.
Contentful
Prepare API Keys
Register and log into Contentful CMS console. Click Settings (top-left) - API keys, then create a new API key.
After creation, copy Space ID, Content Delivery API - access token, and Content Preview API - access token.
Create Blog Data Model
Install Contentful Cli to directly import configuration file.
Alternatively, create manually from console:
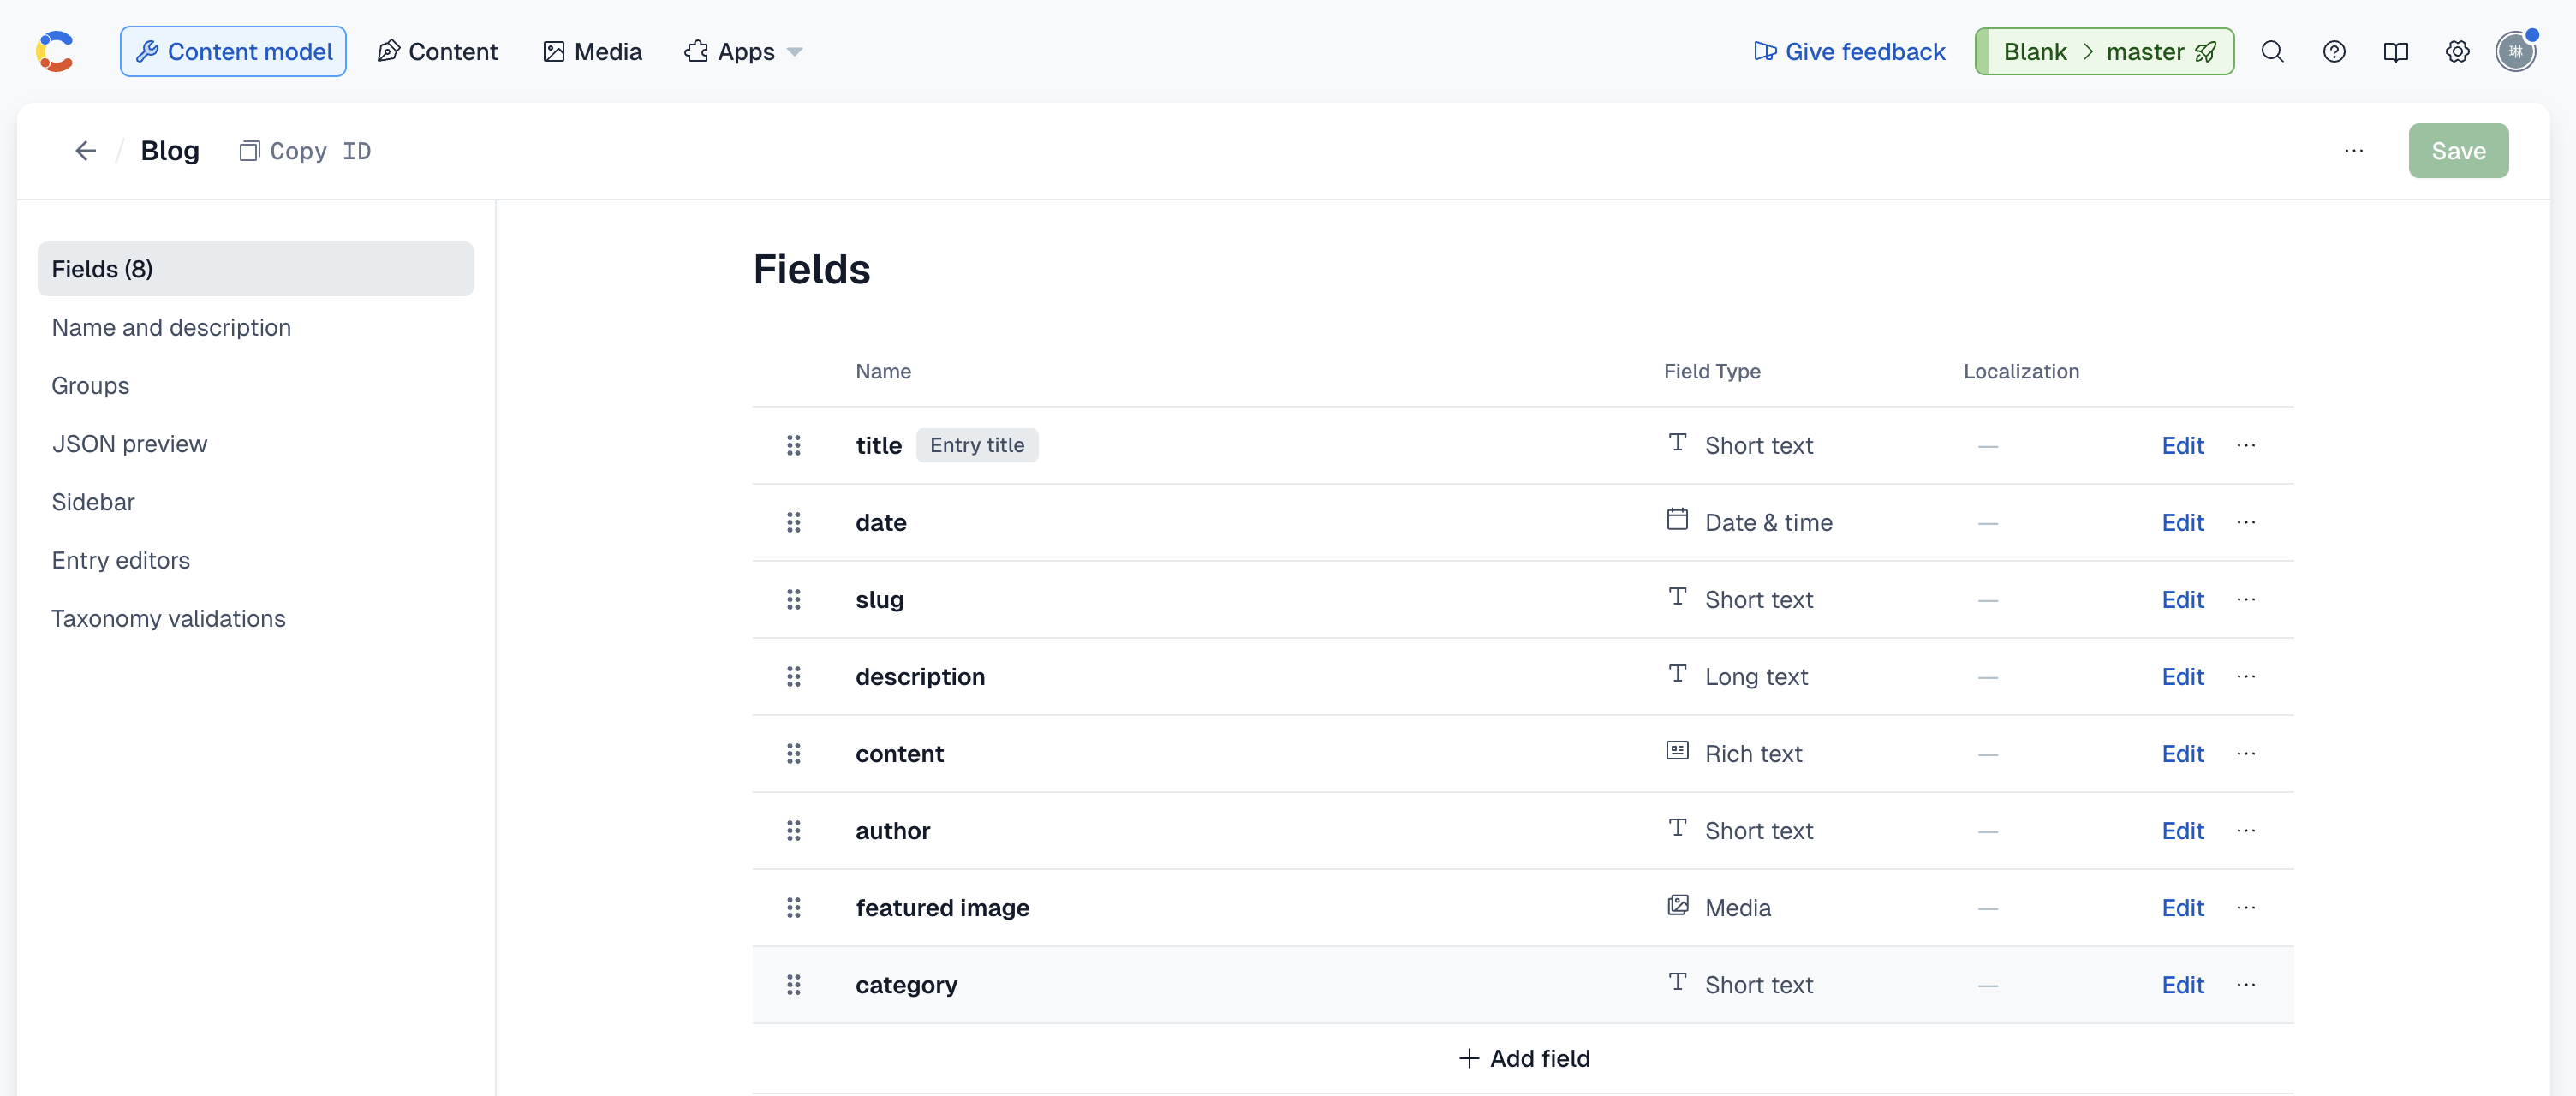
After creating the data model, you can create blog content.
Stripe
Prepare API Keys
First name your application, e.g., my-saas-site.
Register a Stripe account (demo uses test mode), then go to dashboard.
Under Developers - API Keys, copy STRIPE_SECRET_KEY.
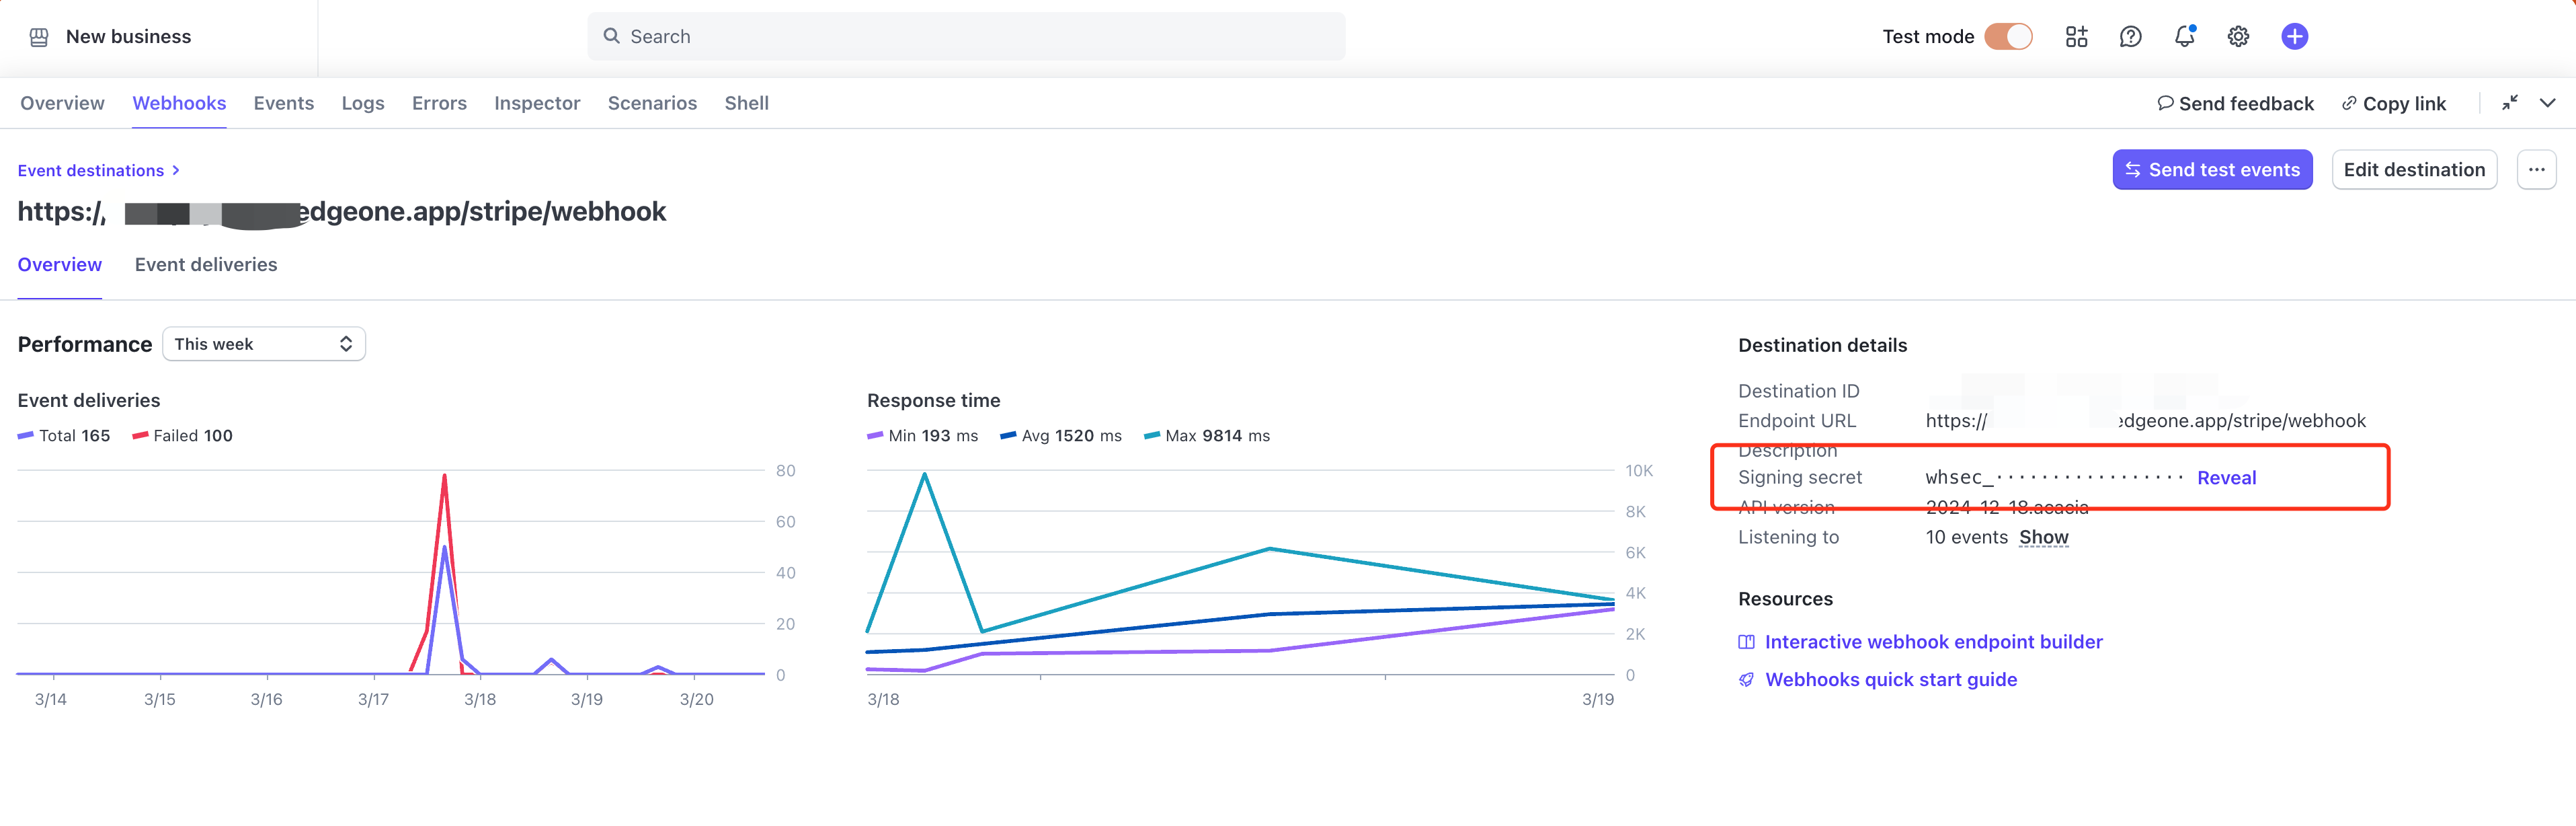
Go to Developers - Webhooks, click Add destination to create a webhook:

Select these events in webhook configuration:
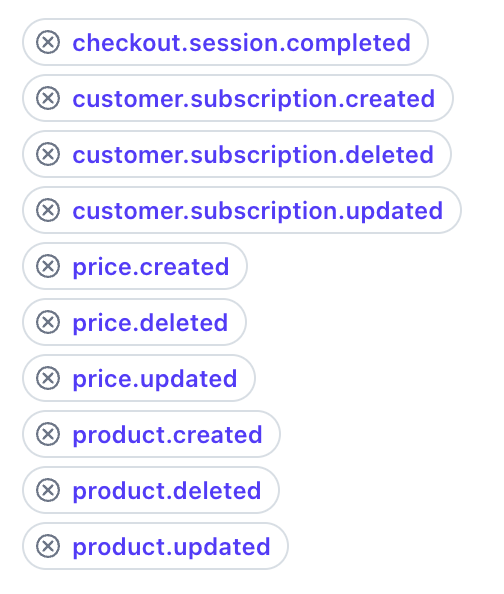
Set Endpoint URL to ${your-app-name}.edgeone.app/stripe/webhook. After deployment, Stripe products will trigger function updates to Supabase.
After creating webhook, copy Signing secret:
2. Create Application
Select Template
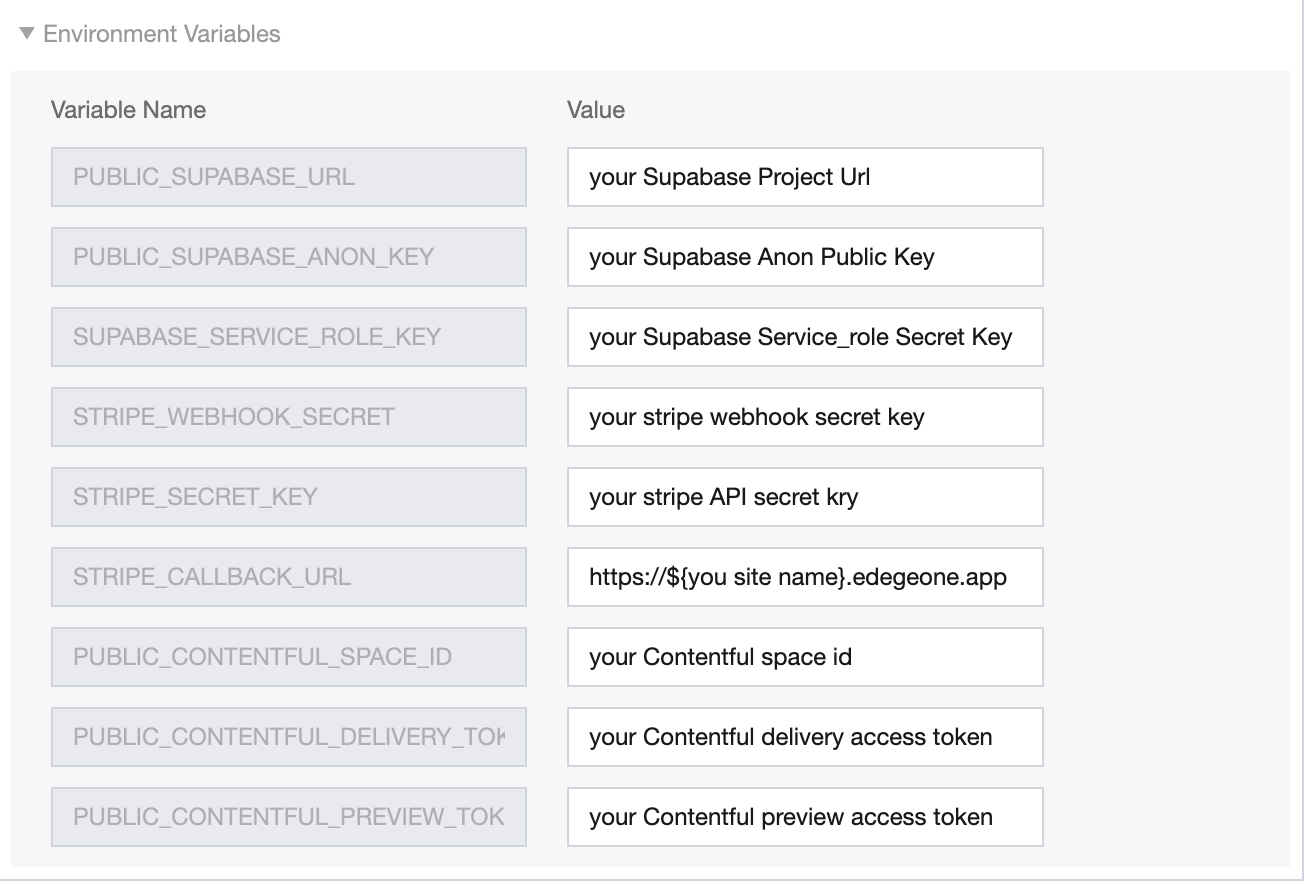
Go to deployment page, fill in all prepared environment variables.
 Click "Start Deployment".
Create Project & Wait for Deployment
After deployment completes, click preview link to view the site.
Configure Products in Stripe
Return to Stripe dashboard to add subscription products:
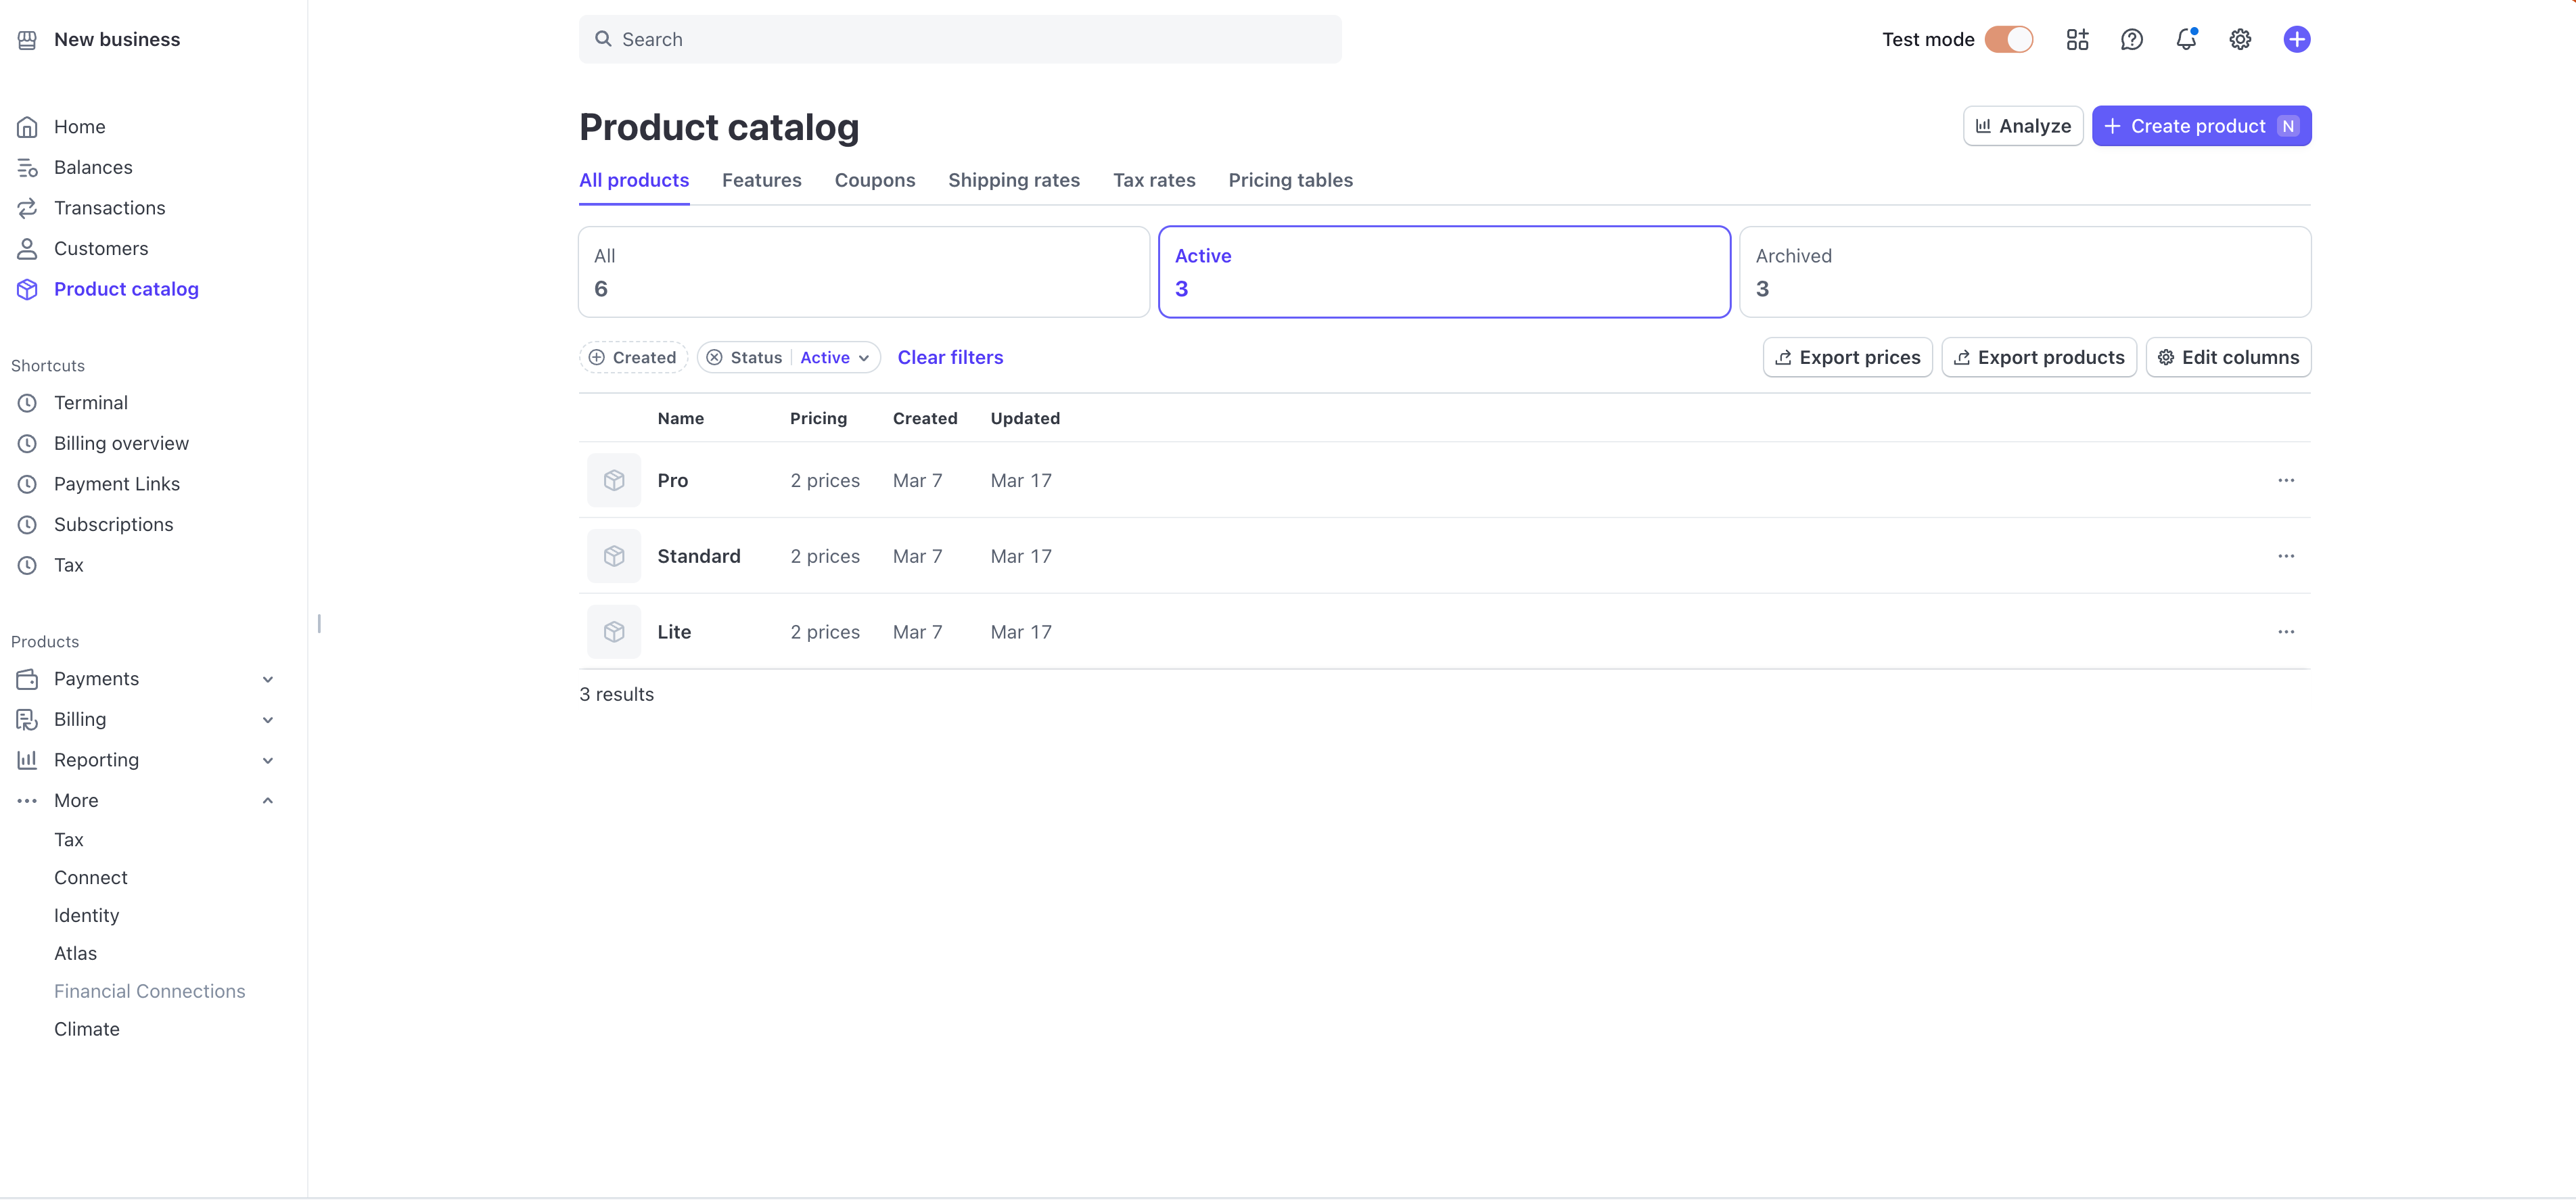 Adding products will trigger edge functions to update Supabase data via webhooks.
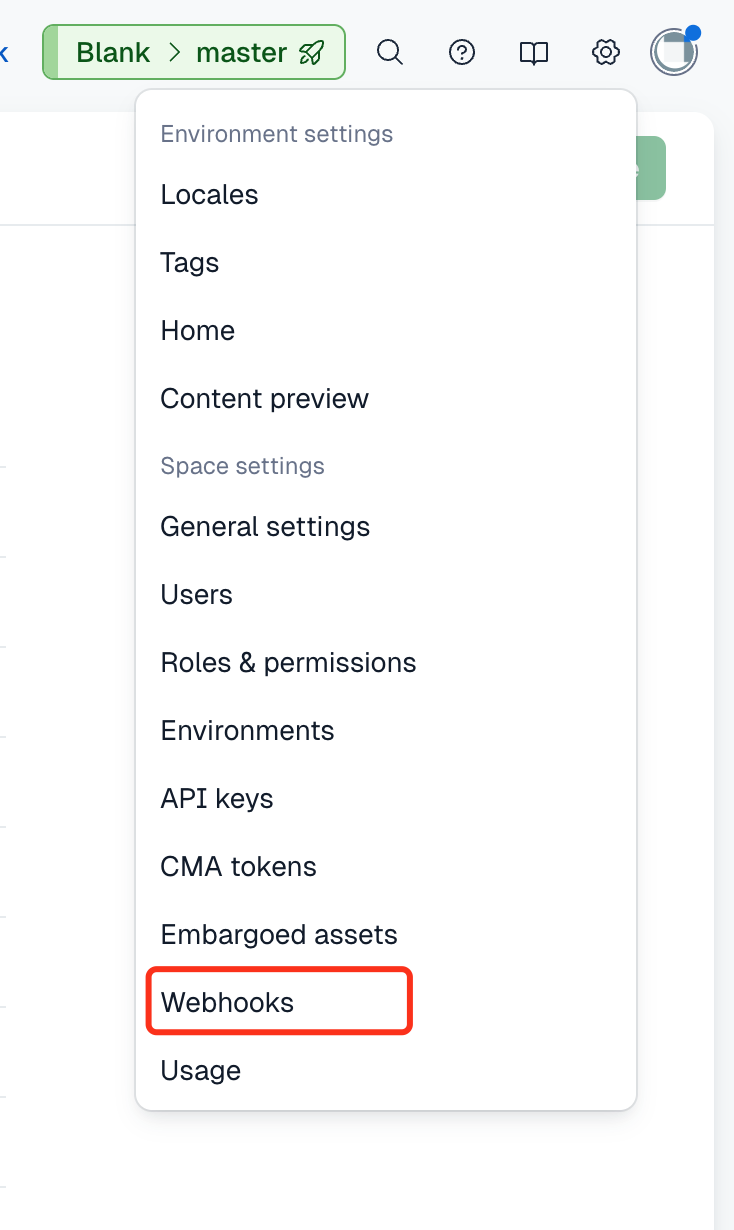
Configure Webhook in Contentful
The blog uses SSG (static site generation). Configure EdgeOne Pages' webhook in Contentful to trigger redeployments when content changes:
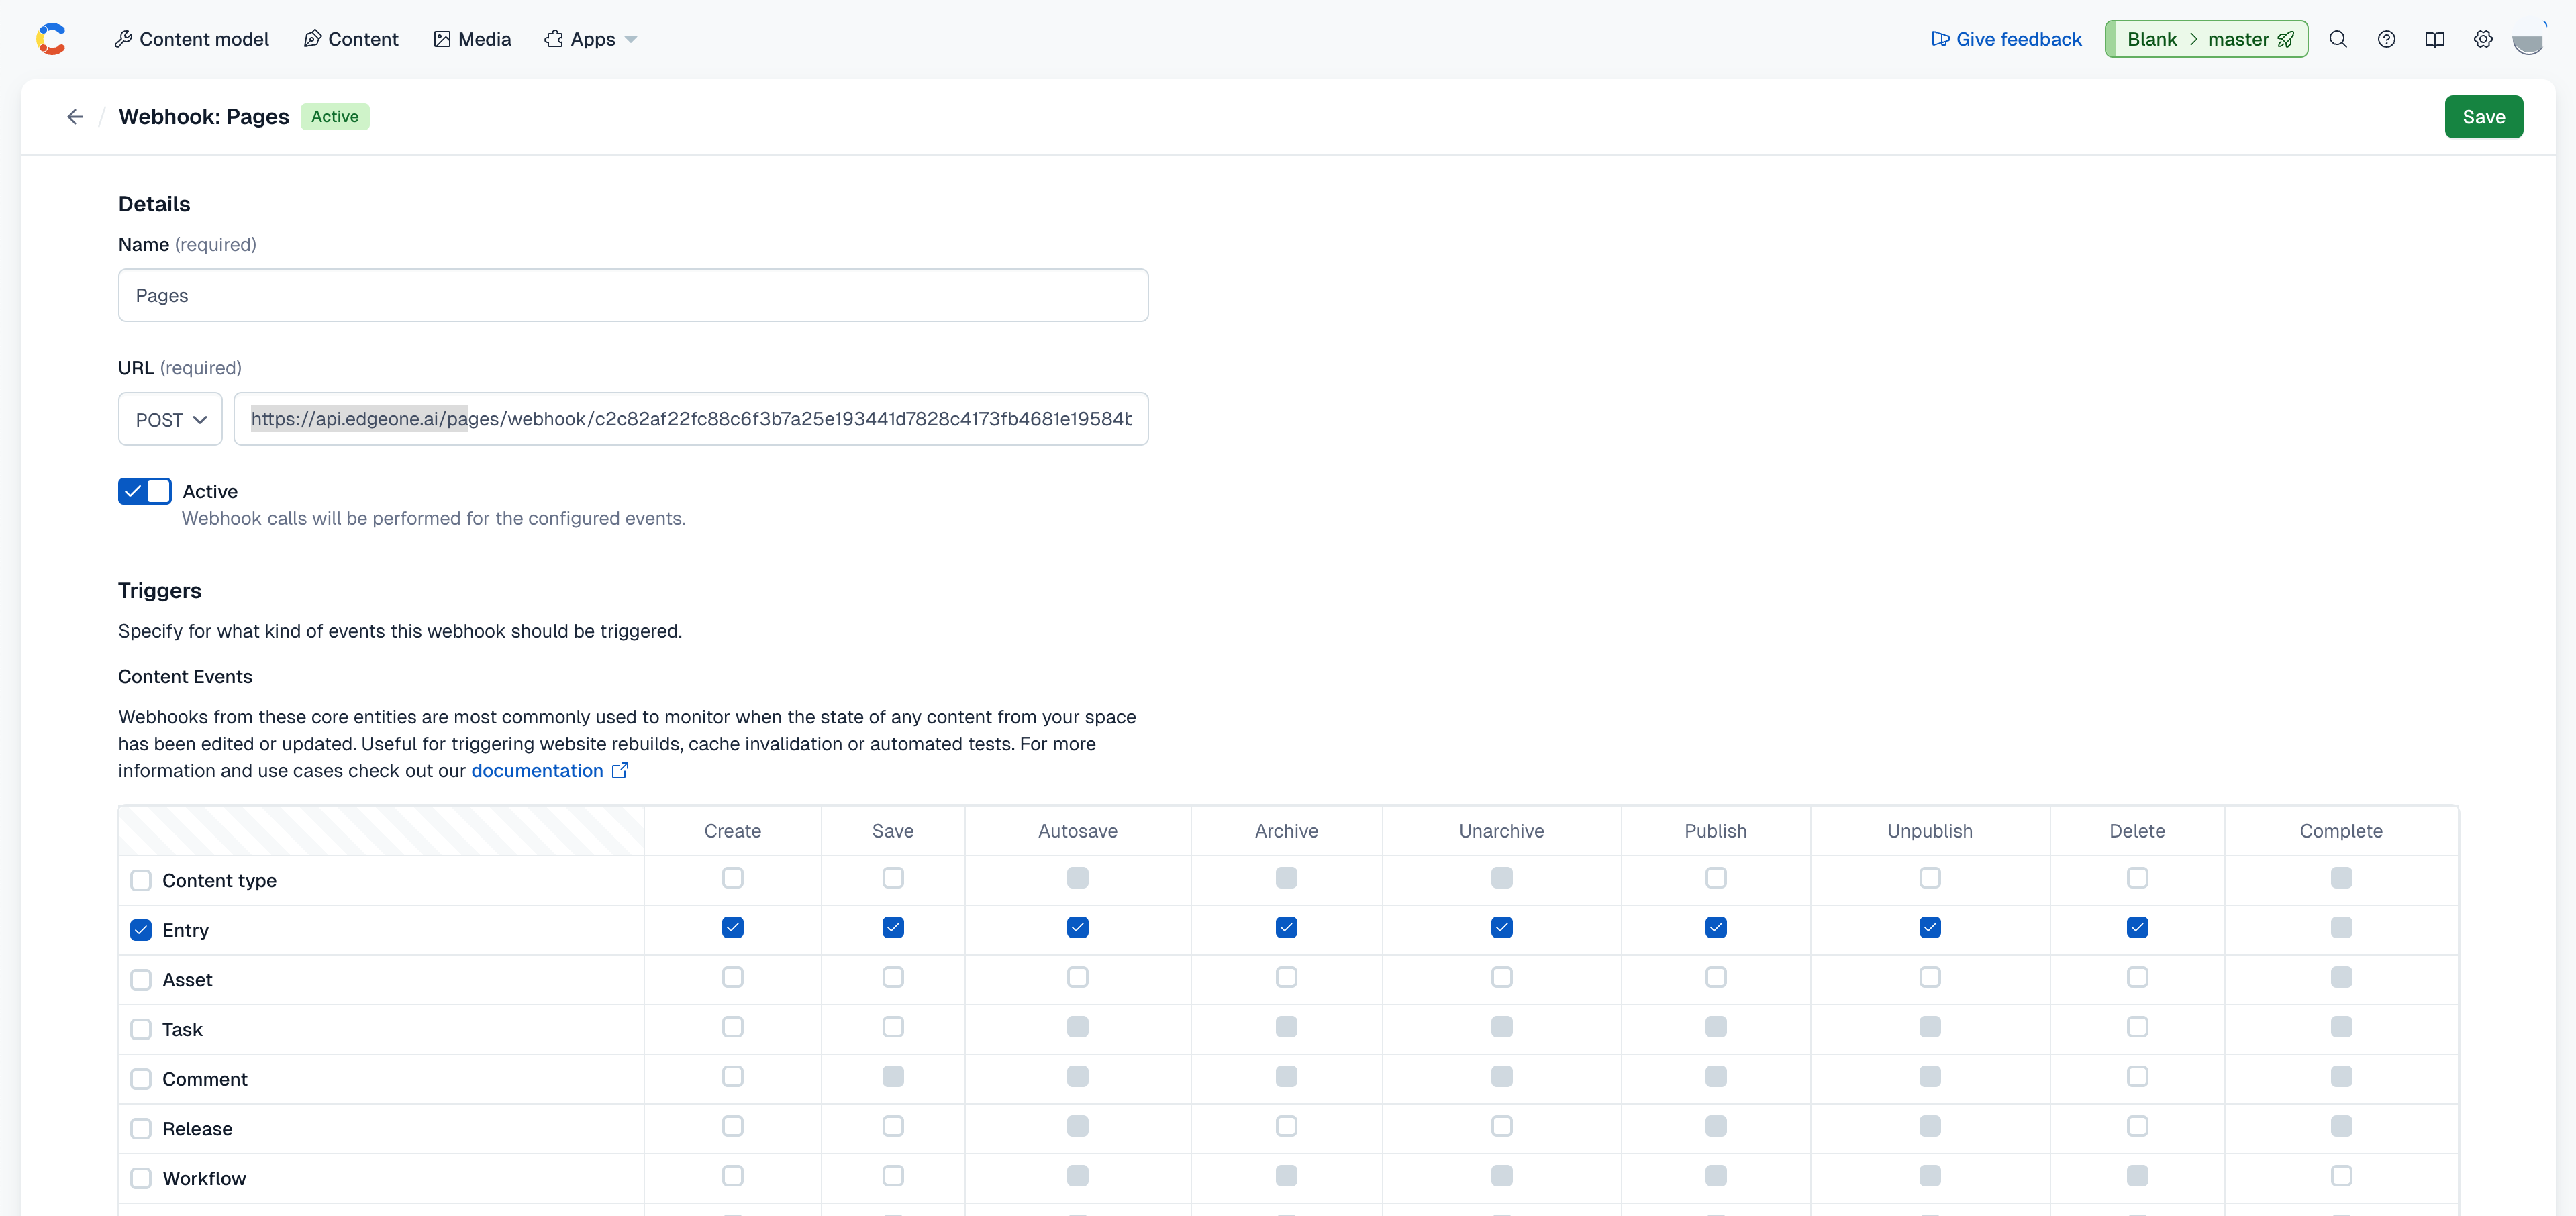
Create new webhook in project settings:
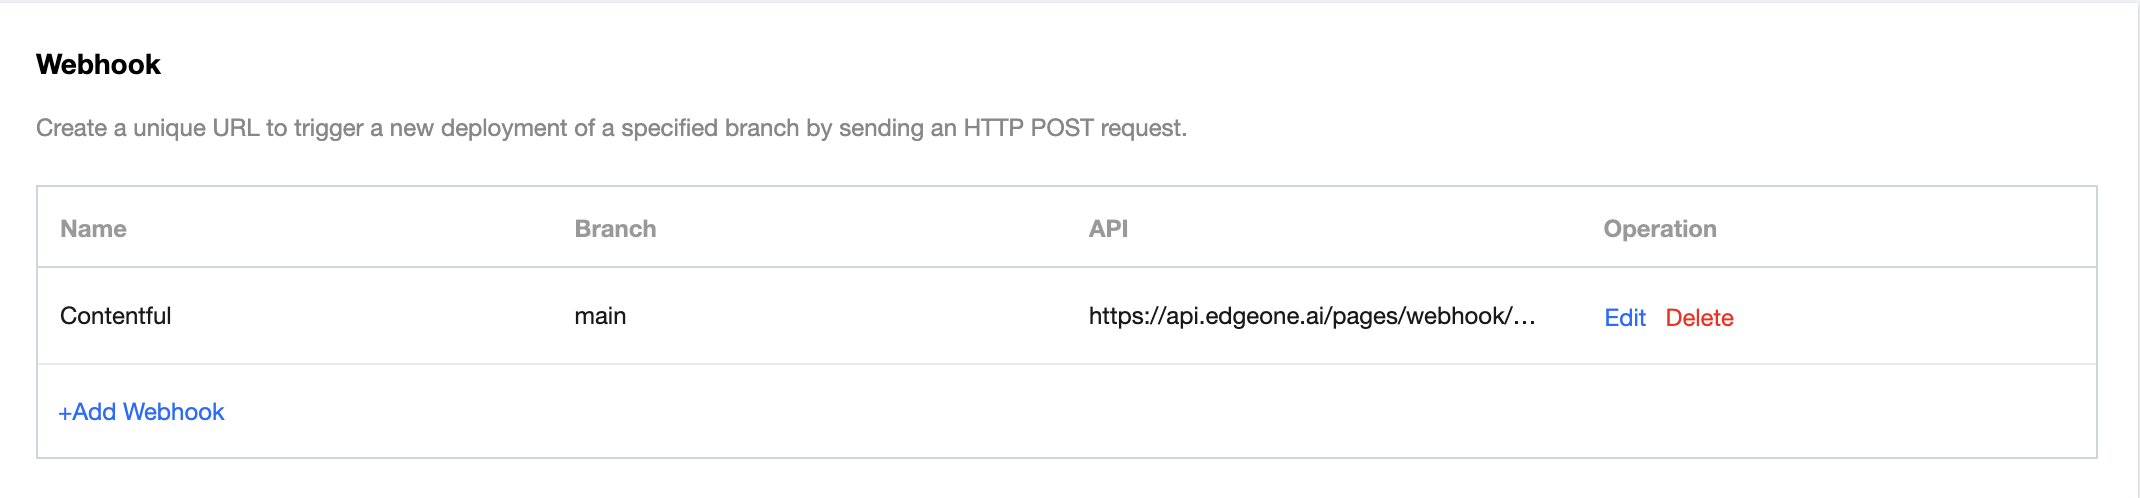 Copy URL to Contentful's webhooks:
3. Local Development
After cloning the project, install Edgeone Pages Cli.
Run edgeone login to authenticate.
Then run edgeone link ${your-project-name} to link local config, which writes env vars to .env.
Configure Dev Environment Variables
Add these variables in .env for cross-origin handling:
FRONT_END_URL_DEV=http://localhost:4321/
PUBLIC_API_URL_DEV=http://localhost:8088/
DEV=true
Run front end dev server
npm run dev
Run function sever
edgeone pages dev