Site Acceleration Quick Start
This document describes how to add a security acceleration site to Tencent Cloud EdgeOne and enable security acceleration, so that you can get a quick start with the EdgeOne service.
EdgeOne brings the following benefits to your security acceleration site:
EdgeOne nodes provide dynamic and static smart acceleration to enable users to obtain resources from nodes nearby, which avoids network issues due to cross-region or cross-ISP access.
Files are cached on nodes to reduce the proportion of origin-pull requests, which decreases the traffic to the origin.
Services are provided from EdgeOne nodes to hide the IP address of the origin and protect the origin from malicious attacks.
More EdgeOne capabilities, such as DNS, security protection, edge functions, and L4 proxy, can be integrated with your site.
Preparations
1. You have registered a Tencent Cloud account.
2. If your business currently uses a domain names for access, you need to prepare a registered domain, such as
example.com. For more information about domain name registration, see Domain Registration.Note:
If you want to set the service region of your site to Chinese mainland or Global, your account must complete Identity Verification, and the domain must have obtained an ICP Filing from the MIIT (Ministry of Industry and Information Technology).
Starting from July 8, 2025, accounts registered in the United States must confirm the applicability of U.S. Data Security Program Applicability and Data Security Compliance and conduct a data security compliance assessment when accessing a site for the first time. For details, please refer to the Important Compliance Information for Tencent Cloud Customers.
3. Your site is hosted on an accessible service, such as Cloud Virtual Machine (CVM) or Cloud Object Storage (COS). For example, you have built a cross-border e-commerce site based on Tencent Cloud CVM, and the current server IP address is:
1.1.1.1.Access site
Step 1: Add the Site
Perform the following operations to add the site to EdgeOne:
1. Log in to the EdgeOne console.
2. Perform different operations according to the following scenarios.
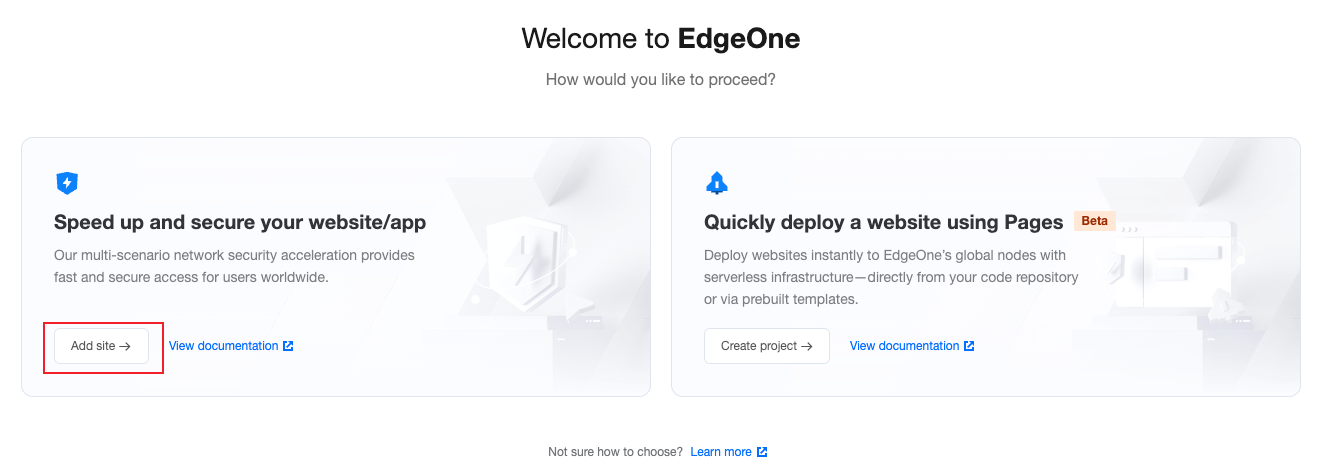
If you are logging into the console for the first time, or you currently don't have any resources in EdgeOne, you will enter the scenario selection hall. On this interface, click Add site.
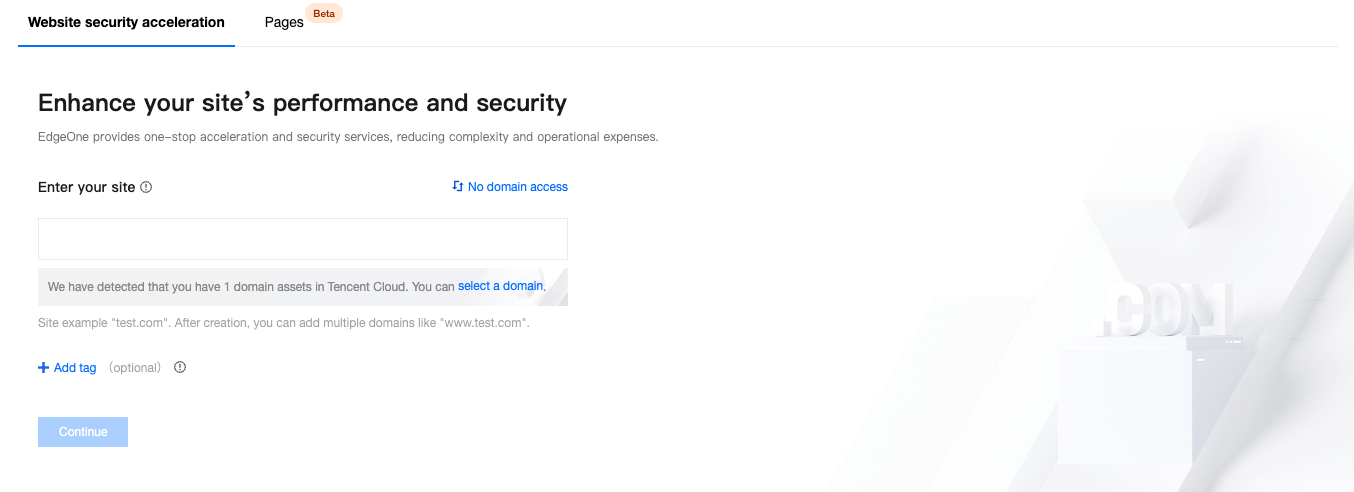
If you are adding a site for the first time but already have other resources, you can click the Web Security Acceleration tab at the top,
3. When adding a site, you need to access EdgeOne through the domain. If your business is purely L4 traffic, you can also choose to access without a domain name and use EdgeOne's L4 proxy service.
By default, EdgeOne requires you to use your current business's second-level domain as the site name for access. In the site input field, enter the site domain name you have prepared, for example: example.com. Click Continue.
Note:
Domain access enables your site to have complete web security acceleration capabilities. We recommend that you access through a domain name.
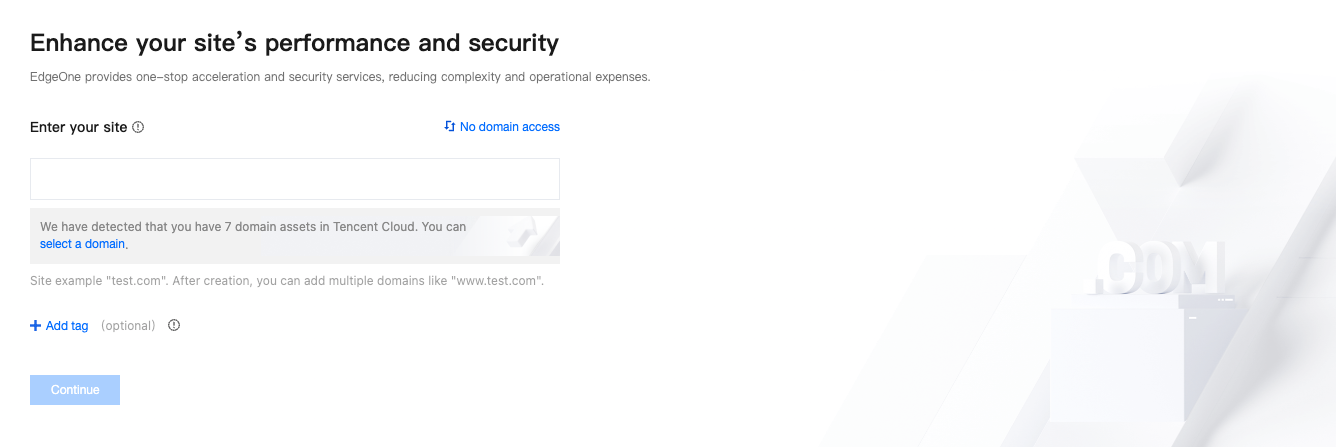
If your current business is not accessed through a domain name, you can also click No domain Access in the upper right corner to switch to the no-domain access mode. In this case, you only need to enter a custom site name and click Continue.

Step 2: Select Service Region and Plan
This step requires binding the site access plan specs so that the platform can allocate the corresponding service resources for you. You can bind by purchase plan or bind sites to your plan:
1. When entering the plan selection, the default is the Purchase plan page. Currently. You can view the Comparison of EdgeOne Plans to see the differences between the different plan versions.
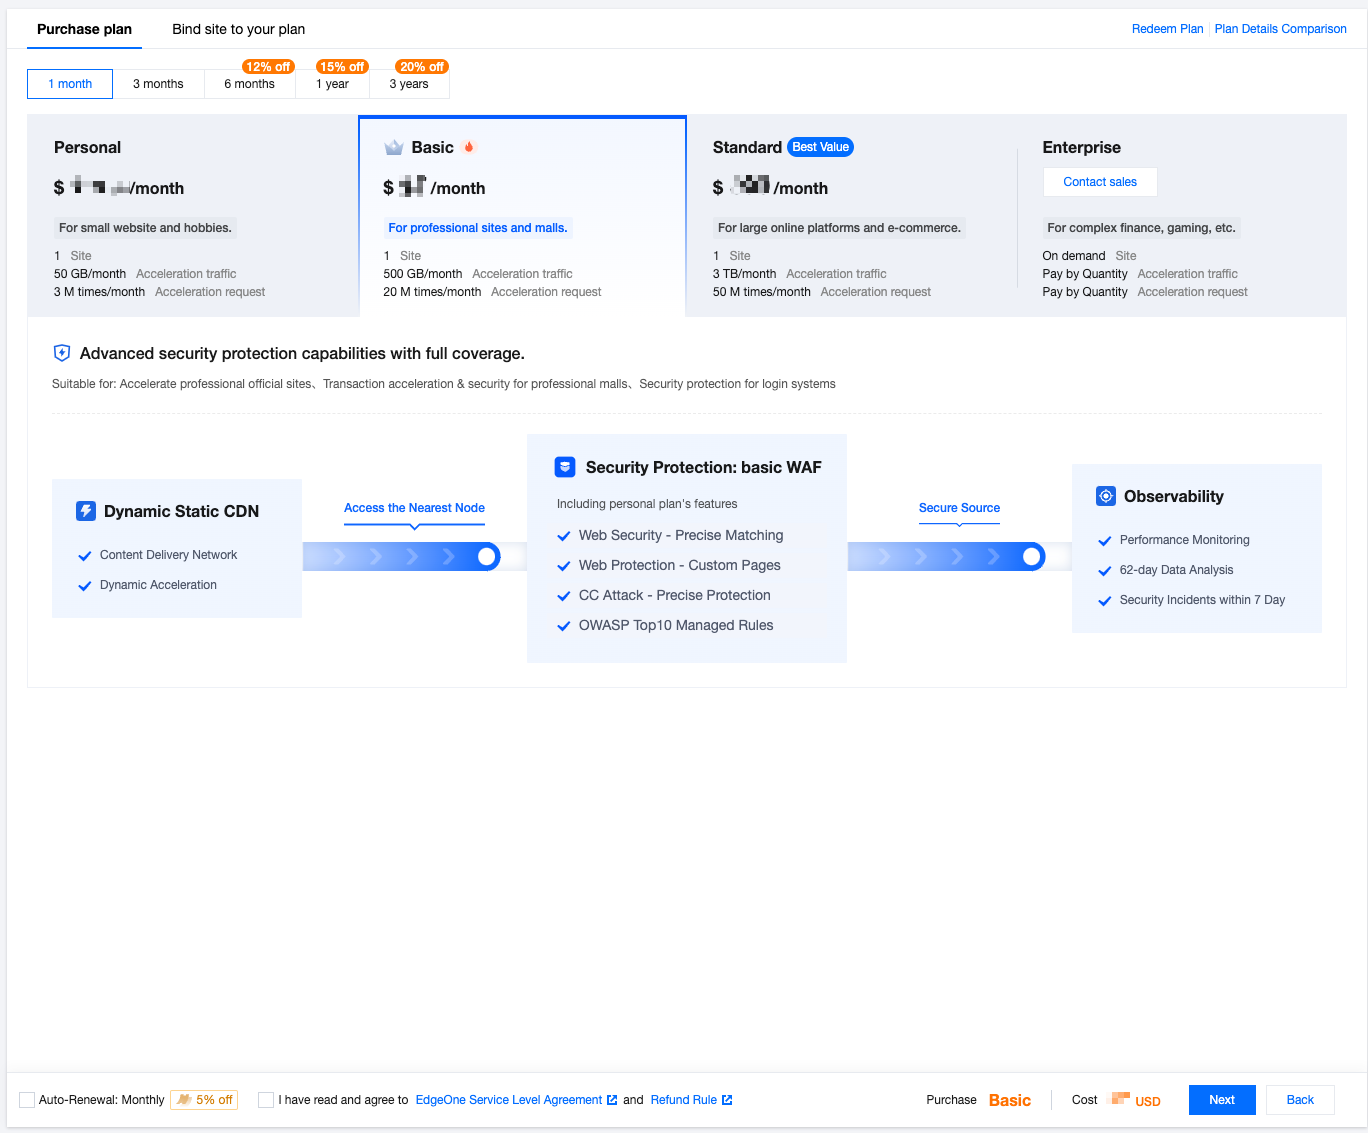
2. After confirming the plan, check and agree to the EdgeOne Service Level Agreement below, and click the next step.
1. If you have already purchased a plan, you can click Bind sites to your plan to switch to the binding plan page and select the purchased plan to bind.
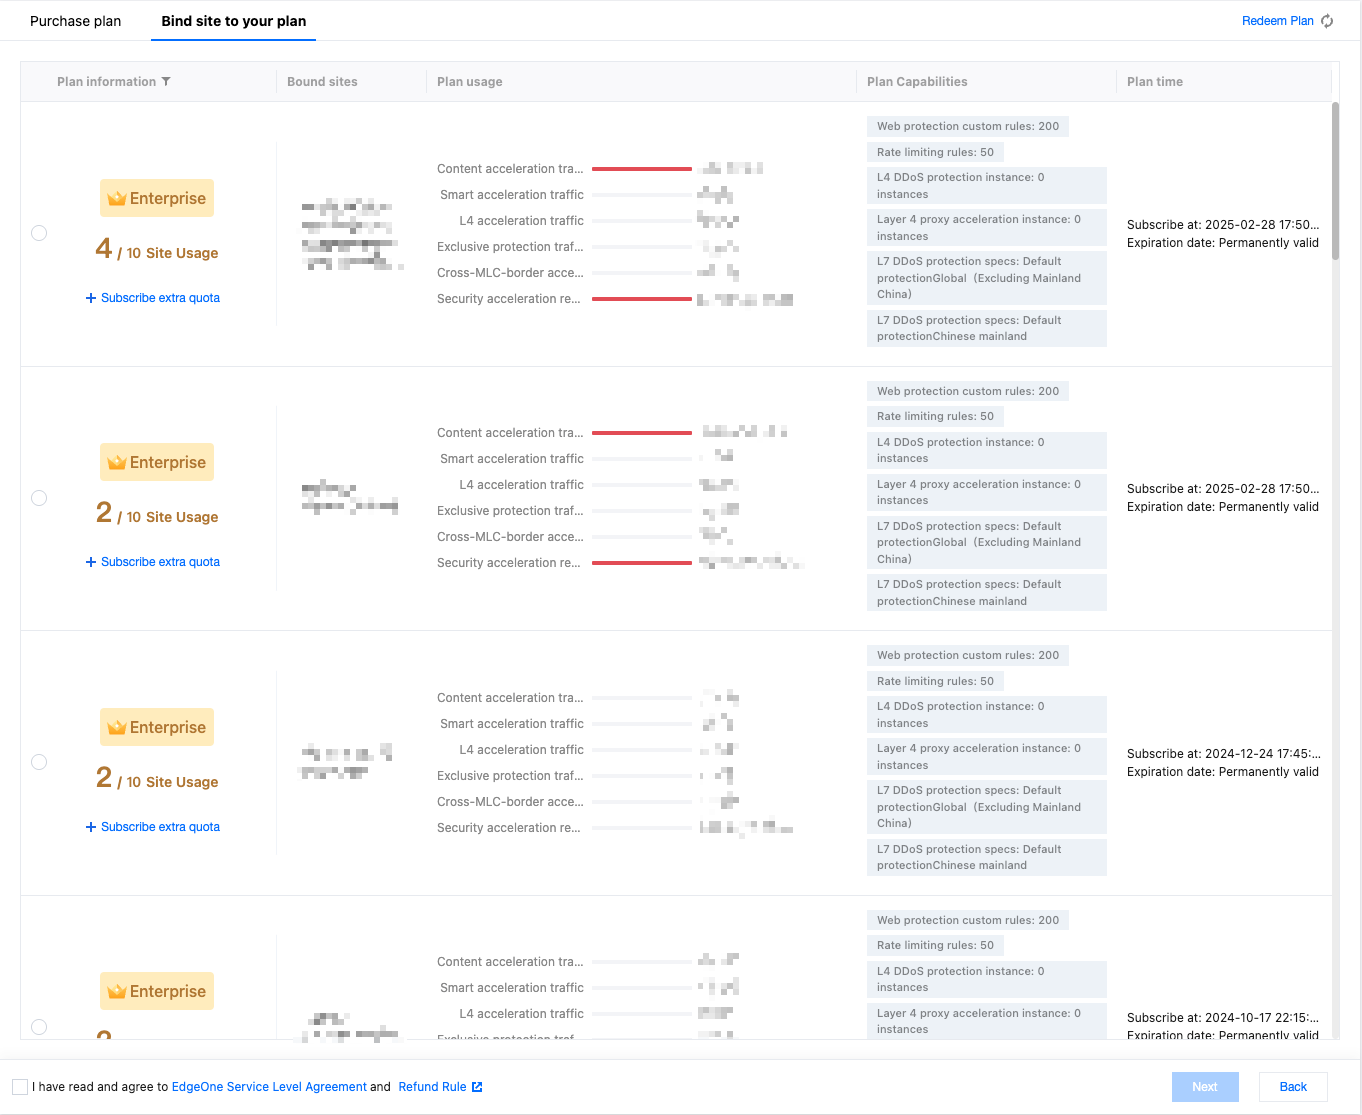
2. After selecting the plan, check and agree to the EdgeOne Service Level Agreement below, and click Next.
Step 3: Select the Access Mode
If you are accessing through a domain name, this step requires you to select the acceleration region and access mode that meet your needs.
Note:
If you are accessing through No domain access, no operation is required for this step.
1. Select the acceleration region. The acceleration region is mainly used to allocate node resources for the current site. When you select the Chinese mainland availability zone and the Global availability zone, it is required that the current domain has completed the MIIT (Ministry of Industry and Information Technology) ICP Filing.

2. Select the access mode. EdgeOne provides you with three access modes, namely NS server access mode, CNAME access mode and DNSPod managed access. The differences between the different access modes are as follows:
Mode | NS Access (Recommended) | CNAME Access | DNSPod Managed Access |
Scenario | You want to change the original DNS provider and host DNS on EdgeOne. | You have hosted the domain name to another DNS provider, such as Tencent Cloud DNSPod, and you do not want to change the DNS provider. | When the domain name is hosted on Tencent Cloud DNSPod, it is recommended to use this mode for access |
Access mode | You only need to change the settings of the DNS server once at the original DNS provider. After that, you can easily enable secure acceleration for the domain name in the EdgeOne console. | Each time you add a new subdomain and enable secure acceleration, you must add a CNAME record at the corresponding DNS provider. | If the domain name is already hosted on Tencent Cloud DNSPod and is in effect, this mode is selected to complete access directly after backend verification by EdgeOne. |
Verification method | You need to change the URLs of the original NS servers to the ones provided by EdgeOne. | You need to verify the domain name ownership by adding a DNS record or using the verification file. | No ownership verification is required. |
Scheduling method | After secure acceleration is enabled for the domain name, the A record can be directly resolved to point to the nearest EdgeOne edge node. | After secure acceleration is enabled for the domain name, the client access is scheduled to the nearest EdgeOne node by using the CNAME record. | After secure acceleration is enabled for the domain name, it is scheduled to the nearest EdgeOne edge node via Cname. |
1. On the Select an access mode tab, select NS access.
2. (Optional) In NS Access mode, EdgeOne automatically scans all DNS records for the domain name. You can verify the scan results by comparing them with the original DNS records.
If all the original DNS resolution records are retrieved, clicking Import all to import them to EdgeOne.
If you find that some DNS resolution records are missing, click Add record or Batch import to add them.
3. Click Next. In the NS server access mode, you need to go to the original domain registration service provider and change the domain's DNS server address to the DNS server address provided by EdgeOne. The operation steps can be referred to: Modify DNS server.
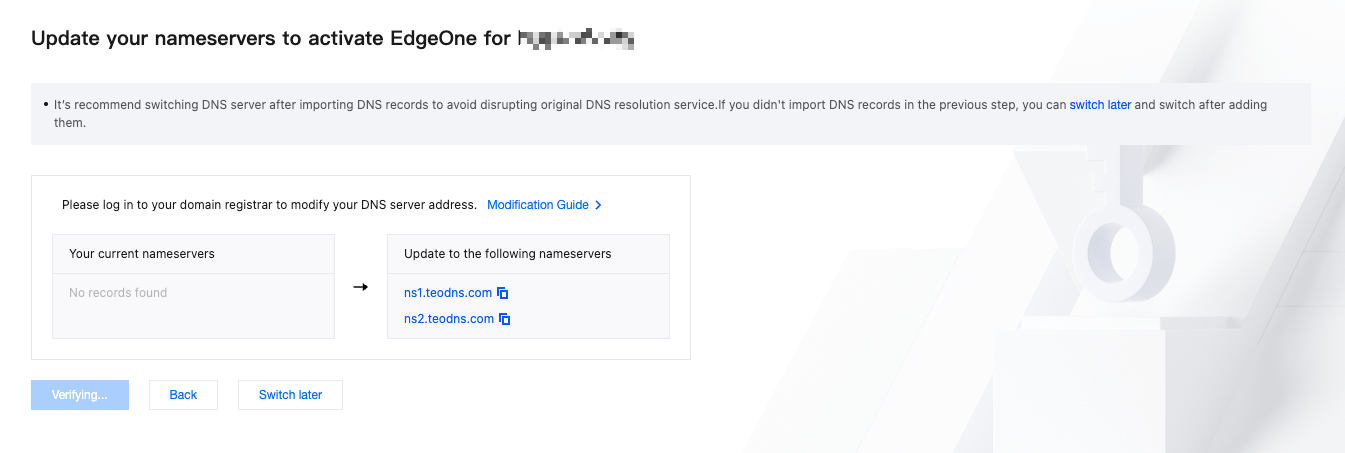
4. After the change, EdgeOne automatically detects the current URLs of the NS servers. After settings of the NS servers take effect, click OK.
Note:
The process may be slow with some domain registrars, please be patient.
1. On the Select an access mode tab, select CNAME access and click Next.
2. Verify the site ownership. EdgeOne allows you to verify your site ownership through DNS verification or file verification. For more information, see Verifying Site Ownership.
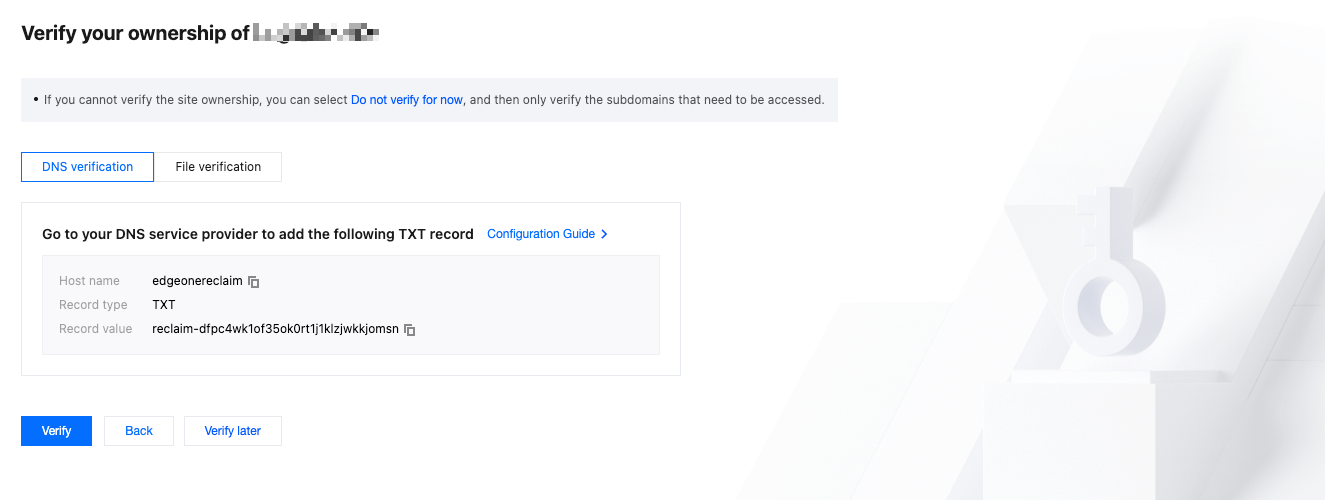
3. After the site ownership is verified, click OK.
Note:
The prerequisite for using this mode is that your current domain name is already hosted on Tencent Cloud DNSPod and is in effect.
1. In the access mode options, select DNSPod managed access and click Finish.
2. When you use this mode for the first time, a pop-up window will remind you of authorization to use the TEO_QCSLinkedRoleInDnspodAccessEO service role permission. Click Agree to Authorization. After the authorization is successful, site access will be successfully completed.
Access security acceleration
Add an Acceleration Domain
Note:
1. Click Service Dashboard in the left sidebar, select the target site under the Web Security Acceleration TAB, and enter the site details management page.
2. Click Domain Name Service > Domain Management to go to the Domain Management Details page, and click Add Domain Name to add a new acceleration domain name.
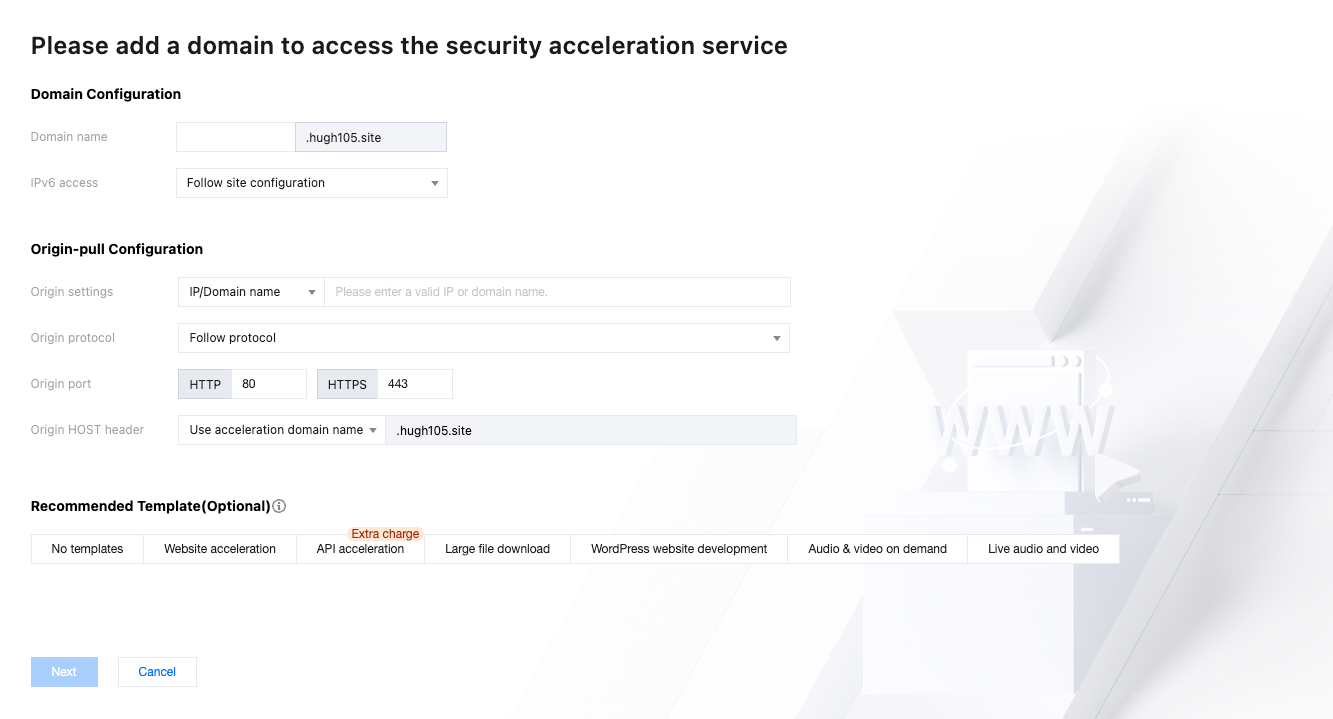
3. Enter the acceleration domain name to be added and the corresponding origin server information. Once the configuration is complete, click Next.
Configuration item | Note |
Acceleration domain name | Domain name provided for client access. Enter the host record value corresponding to the domain name. Wildcard domain name access is supported. If you need to access the main domain name, simply enter @. For example: If you need to accelerate the website www.example.com, enter www here. |
Origin server configuration | The origin server is the final resource address accessed when the client initiates a request. You can choose from IP/domain name, COS origin server, and origin server group: IP/domain name: It is used to connect a single origin server. You can enter a single IP or a single domain name as the origin server. COS origin server: It is used to add Tencent Cloud COS and AWS S3 authentication compatible COS buckets as origin servers. If the bucket allows public read-write access, you can also connect directly using the origin server type of IP/domain name. Origin server group: If the origin server has multiple IPs, you can add them by configuring an origin server group. VOD: Buckets authorized in VOD can be set to apply to all files within the application or to files in a specific bucket. Load balancing: Actively detect origin server latency and health status, configure intelligent traffic scheduling policies, and provide safer and faster traffic distribution services. For example: There is an existing cross-border e-commerce website built using Tencent CVM. The IP address of the server is: 10.1.1.1. When configuring the origin server, select the IP/domain name as origin server configuration and enter this server address.Note: 1. We recommend that you configure your origin server in the same region as the acceleration region. For instance, if the acceleration region is a Chinese mainland availability zone, set the origin server to be within the mainland for better origin-pull performance. If the origin server is in a global availability zone (excluding the Chinese mainland) and requires cross-border access, the origin-pull effect may not be guaranteed. If you need to accelerate access by Chinese mainland users and the origin site is in a global availability zone (excluding the Chinese mainland), refer toCross-regional Secure Acceleration (Oversea Sites). 2. If your acceleration region is a global availability zone, you can add corresponding rules in the rule engine. Set the matching condition to client geographic location and choose to modify the origin server, directing origin-pull requests to different origin servers based on the regions to ensure the origin-pull effect. 3. Do not enter an acceleration domain name that has already been connected to EdgeOne and whose origin server points to the current domain name as the origin server address. Doing so may cause a loop in resolution, preventing normal origin-pull. |
IPv6 access | You can choose whether to enable IPv6 access support. Refer to the document: IPv6 Access. The default is to follow site configuration. |
Origin-pull protocol | You can select the access protocol supported by your origin server. The default is to follow the protocol. The options are as follows: Follow protocol: The origin-pull protocol is the same as the user access request protocol. HTTP: The HTTP protocol is used for origin-pull. HTTPS: The HTTPS protocol is used for origin-pull. |
Origin-pull port | It is used to specify the port used for origin-pull. Make sure that the port specified on your origin server is accessible. By default, HTTP origin-pull uses port 80, and HTTPS origin-pull uses port 443. |
Origin HOST header | If your origin server hosts multiple sites and you need to specify which site to access via the origin HOST header, you can select one of the following options when the origin type is IP/domain: Use acceleration domain name: Use the acceleration domain as the origin HOST header; Use origin domain name: Use the origin domain as the origin HOST header. If the origin address is an IP address, this option is not available; Custom: Customize the origin HOST header used when requesting resources from the origin server. |
4. (Optional) When a domain name is added, EdgeOne provides recommended configuration based on common service scenarios to ensure smoother and safer operation. You can select recommended configuration based on your service scenario, click Next to apply the configuration or directly click Skip to proceed without applying any configuration, and go to the next step.
5. Once a domain name is created, EdgeOne will assign a CNAME address to the domain name. You need to complete the CNAME configuration to enable the secure acceleration for the domain name. For the configuration method, refer to: Modification of CNAME Resolution.
Note:
Prior to transitioning your access method, it is advisable to consult the Verify Business Access section to ascertain the accuracy of your current domain configuration.
Should there be a necessity to configure an HTTPS certificate for your domain, upon the completion of domain deployment, you may refer to Deploying/Updating SSL Managed Certificates to EdgeOne Domains for configuration guidance.
Adding L4 proxy service
L4 proxy is the acceleration service of EdgeOne based on TCP/UDP. By leveraging widely distributed layer-4 proxy nodes, unique DDoS module, and smart routing technology, EdgeOne implements nearby access for end users, edge traffic cleansing, and port monitoring and forwarding. It thus offers high-availability and low-latency DDoS mitigation and acceleration services for layer-4 applications.You can enable TCP/UDP protocol acceleration and security protection features on the L4 proxy page. For details, see Create L4 proxy instance.
Note:
The L4 proxy is only available with the Enterprise Edition package.
Enable Security Protection On Demand
EdgeOne provides flexible and configurable DDoS protection and Web Protection capabilities, supporting diverse security policy configurations and security event alert options, helping you verify traffic and requests at the edge to prevent external attacks and security risks from affecting your business and sensitive data. You can enable these features on demand according to your business needs, providing comprehensive Web Protection services for websites/apps/applications and other Web businesses to defend against application layer attacks and block malicious requests; enable DDoS protection for UDP/TCP L4 businesses to resist network layer distributed attacks. For details, seeDDoS Protection and Web Protection Overview.
For No Domain Sites, Configure Domain Names to Enable More Security Acceleration Features
If during usage, your domainless site needs to bind a domain name to use more security acceleration features, you can go to the Domain Management page, click to set site domain name, and use NS/CNAME/DNSPod mode to access EdgeOne.