Maximum Upload Size
Function Introduction
The maximum upload size is the maximum value of data that a client user can upload in a single request. If the set limit is exceeded, EdgeOne will respond to the client with a 413 (Request Entity Too Large).
Note:
1. Only EdgeOne Enterprise and Standard plans support disabling the upload size limit.
2. The maximum upload size limit is enabled by default, with a limit of 800MB.
Usage Scenarios
1. Large file upload: For businesses involving large file uploads, such as online video platforms, large-scale game distribution, and big data analysis, you can increase the upload size limit or disable it directly to allow your large files to be uploaded smoothly.
2. Defend against malicious uploads: For businesses with frequent user interactions, such as social media, forums or blogs, you may encounter malicious users uploading excessively large files. You can enable the size limit and reduce the limit to prevent large files from being uploaded to the origin, thereby alleviating the pressure on the origin, preventing potential security risks, and improving the user experience.
3. Save traffic: For traffic-sensitive businesses, such as online education, online meetings, and API services, you may want to save traffic by limiting the size of uploaded files. You can enable the size limit and adjust the limit to a smaller value to reduce unnecessary transmission traffic and lower traffic costs.
You can flexibly configure the "maximum upload size" to meet the needs of various business scenarios.
Directions
Scenario 1: Configure the maximum upload size for all domain names of the site
If you need to configure the same maximum upload size for the whole connected site or as a site-level fallback configuration, please refer to the following steps:
1. Log in to the Tencent Cloud EdgeOne console, enter Service Overview in the left menu bar, and click the site to be configured under Website Security Acceleration.
2. In the site details page, click Site Acceleration to enter the Site Global Configuration Page. In the right sidebar, click Network Optimization.
3. Find the maximum upload size configuration card and click Global Settings.

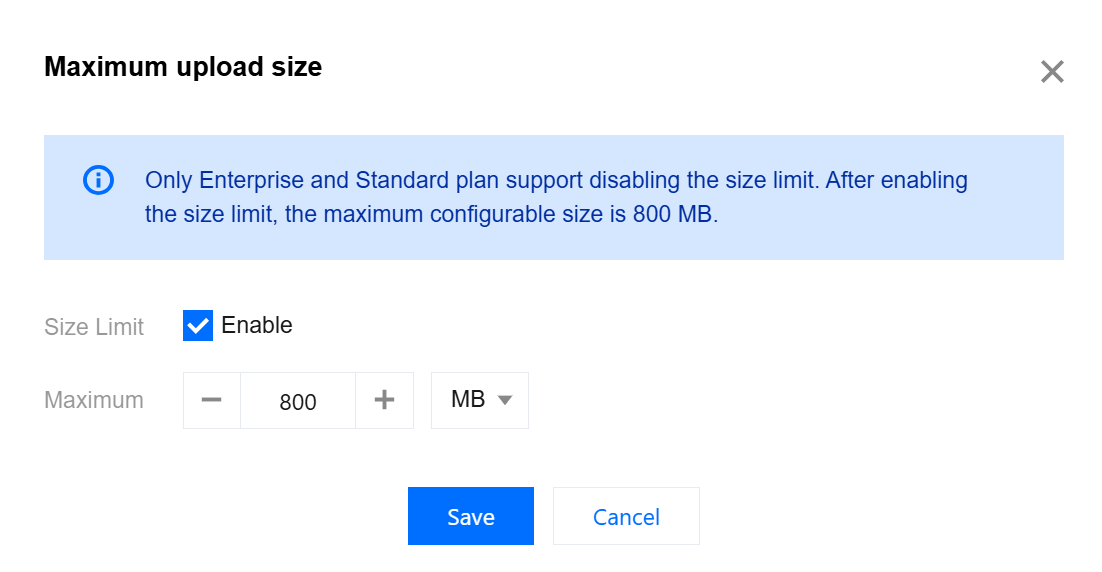
4. In the pop-up window, check Enable Size Limit and modify the limit value. Click Save to make it effective.

Scenario 2: Configure the maximum upload size for specified domain names, paths, or file extensions, etc.
If you need to configure different maximum upload sizes for different domain names, paths, or file extensions, etc., for example, configure the maximum upload size for the
www.example.com domain under the example.com site to be 20 MB, please refer to the following steps:1. Log in to the Tencent Cloud EdgeOne console, enter Service Overview in the left menu bar, and click the site to be configured under Website Security Acceleration.
2. On the site details page, click Site Acceleration to enter the global site configuration page, then click the Rule Engine tab.
3. On the rule engine management page, click Create rule and select Add blank rule.
4. In the rule editing page, enter the rule name, select Host as the matching type, and configure it as
www.example.com.5. Click Action, and in the pop-up operation list, select Maximum Upload Size as the operation, and click Enable Size Limit, with a limit value of 20 MB.

6. Click Save and Publish to complete the rule configuration.