Building an Ecommerce Platform with WordPress + WooCommerce and GatsbyJS
This article introduces how to rapidly deploy a high-performance, easy-to-maintain ecommerce website using the JAMStack architecture based on Pages templates. It implements common dynamic features such as login, shopping cart, and order management, enabling you to quickly build your own high-performance ecommerce platform.
Overview
WordPress powers over 40% of websites on the internet, with a rich and mature ecosystem. Through the WooCommerce plug-in, WordPress can easily transform into a fully functional ecommerce platform, supporting core features such as product management, inventory control, payment processing, and order management. GatsbyJS is a static site generator based on React. It leverages modern frontend technologies to pre-render website content into static HTML, CSS, and JavaScript files. Combining WordPress with GatsbyJS to build an ecommerce platform enables complementary advantages. Among them:
WordPress + WooCommerce as the backend, managing content and ecommerce functionality
GatsbyJS as the frontend, responsible for display and user interaction
This kind of separated computing and storage architecture provides multiple advantages:
1. Outstanding performance: After pages generated statically are deployed to EdgeOne Pages, they can leverage CDN to achieve fast loading.
2. Security enhancement: Separation of frontend and backend reduces attack surface.
3. Scalability: The frontend or backend can be expanded independently.
4. SEO-friendly: Pre-rendered content is conducive to search engine indexing.
Scenarios
1. Small and Medium-Sized E-Commerce Enterprises
For small and medium-sized e-commerce enterprises, financial and technical resources are relatively limited. Using our templates to build an ecommerce platform eliminates the need for significant investment in hiring professional development teams. WordPress's low-threshold operation enables employees to quickly start managing content and operating stores. GatsbyJS's high performance allows businesses to provide users with an excellent shopping experience within a limited budget, helping them stand out in the competitive market.
2. Content-Driven E-Commerce
If your e-commerce strategy heavily relies on content marketing, such as attracting customers with blog articles, tutorials, purchase guides, etc., this combination will fully leverage WordPress's content management advantage while providing an excellent reading experience through GatsbyJS. Suitable for
Fashion e-commerce needs to display product stories and collocation guides.
Professional equipment sales require detailed tutorials and operation guides.
Setting Up WordPress Backend
Docker Deployment (Recommended)
Scenario Example: Assume you want to quickly attempt to build an e-commerce admin backend from scratch.
We provide a docker project that can be deployed directly. You can use docker containers to deploy it directly on your server.
The installation and deployment of the docker environment can refer to Tencent Cloud Lighthouse Docker Container Environment.
After deployment, open wp-admin: https://your.site.domain/wp-admin/admin.php.
You can see the configured product information and pages after logging in.
Self-Build
Scenario Example: If you already have your own WordPress service and want to expand e-commerce features, you can also configure the environment manually as follows.
1. Install a plugin
Install the following plug-ins in your WordPress service and activate them:
Advanced Custom Fields
JWT Authentication for WP-API
WooCommerce
WPGraphQL
WPGraphQL for ACF
WPGraphQL for WooCommerce
WPGraphQL JWT Authentication
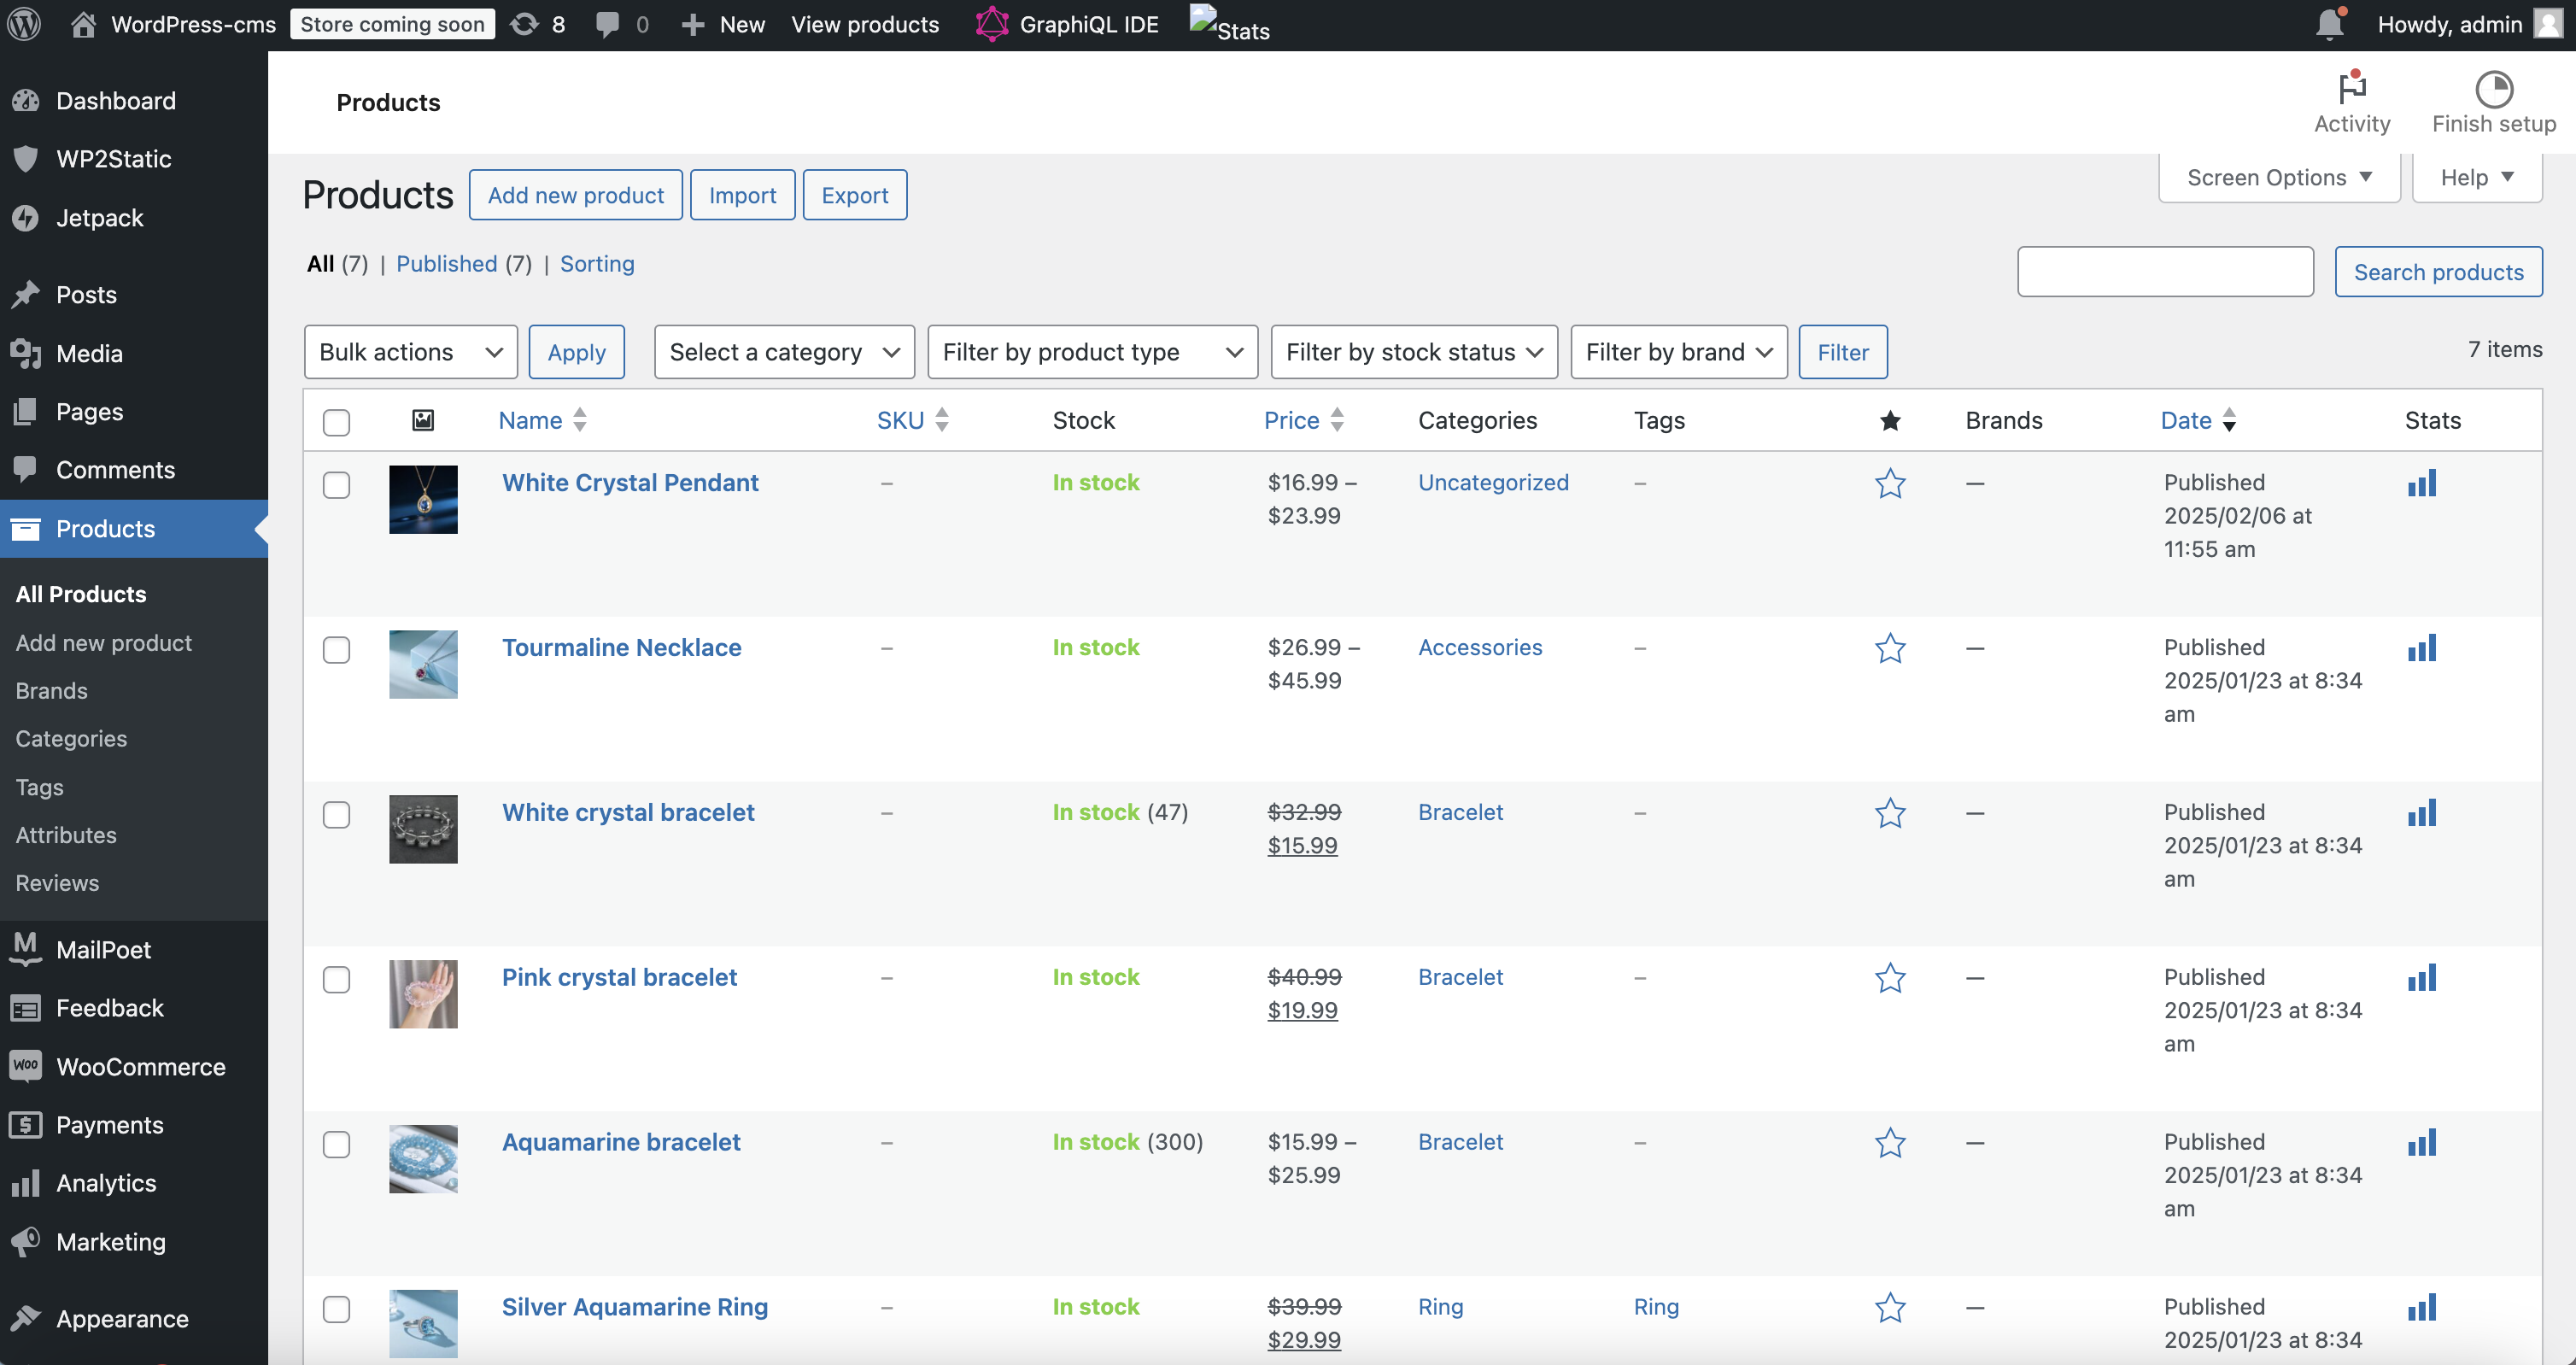
2. Import/Create a product
After activating the WooCommerce plug-in, click Products in the navbar to enter the product management page.
Products can be created based on needs.

3. Create a page
First create the following pages for displaying the homepage Banner.
/highlight/promotion/sample-pageAfter the import is complete, return to the above created page to edit and fill in the ACF data.
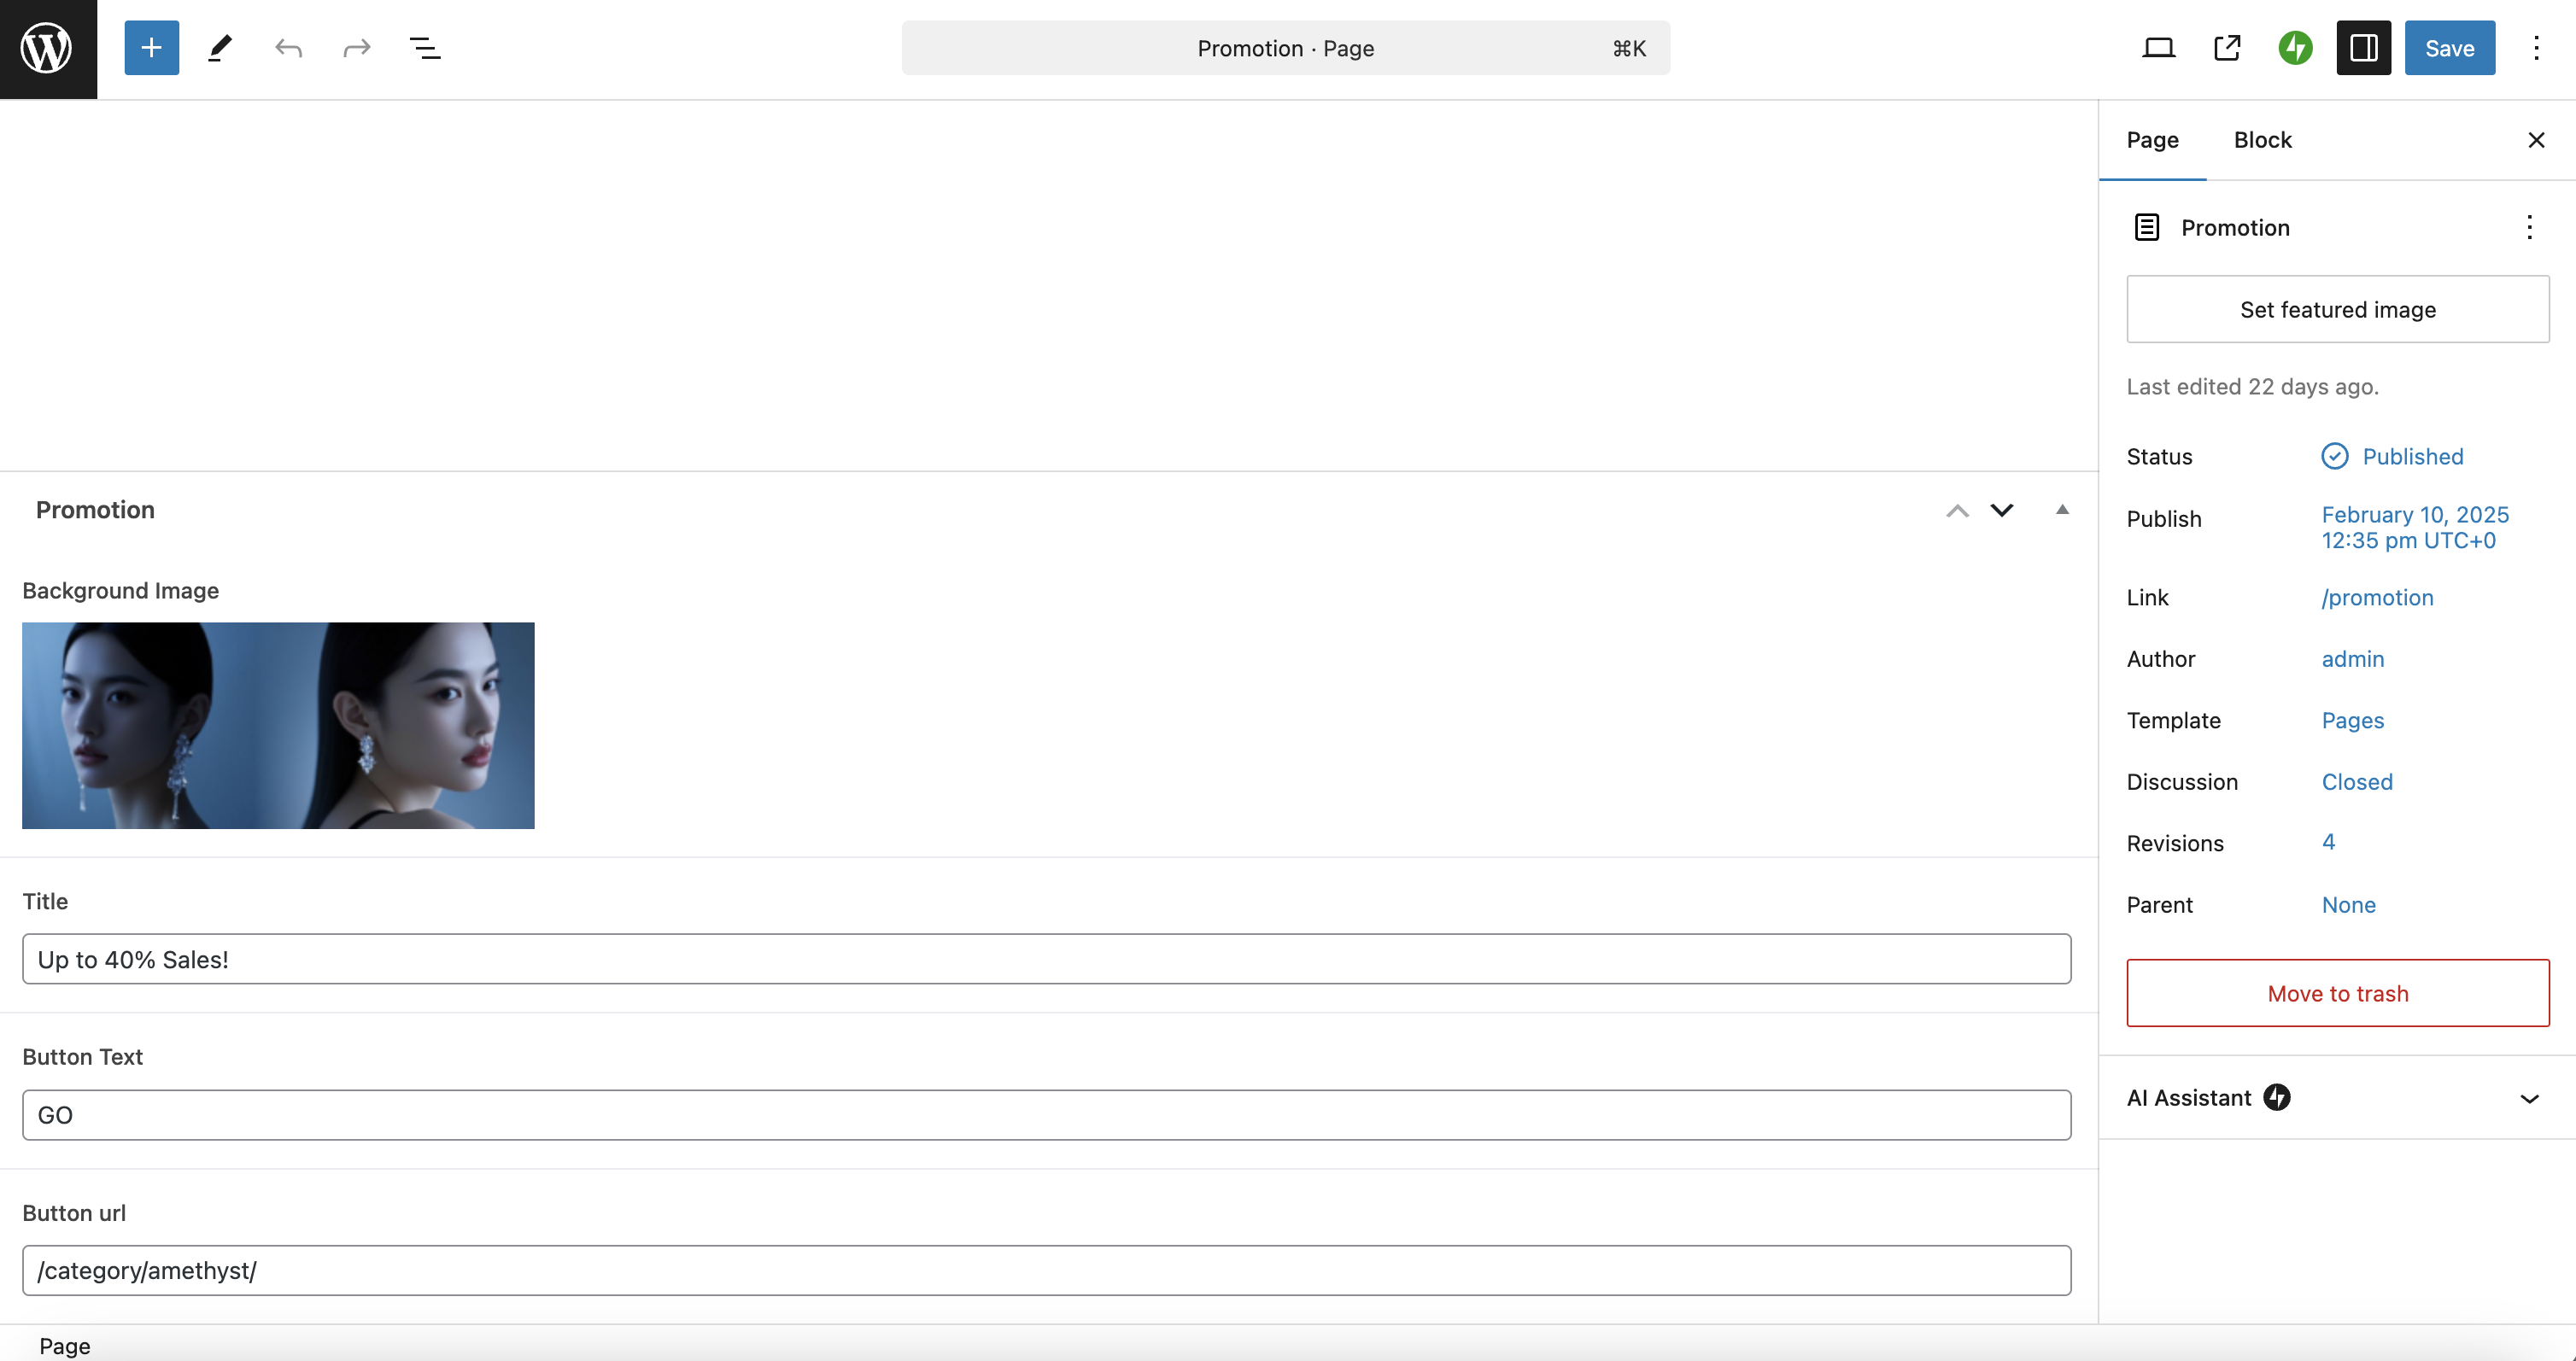
After editing, publish.
Deploying to EdgeOne Pages
1. Using Deployment Templates
After completing the setup of the e-commerce admin backend, go to the WordPress Woocommerce Template on the Pages platform and click "Deploy".
2. Add an Environment Variable
On the preparation deployment page, click "Environment Variables" and configure the following environment variables separately:
WP_URL: Fill in your WordPress site addressGATSBY_ENV: Set to production
After successful deployment, click the link to see the complete page.