This guide will help you smoothly migrate your Netlify project to EdgeOne Pages.
1.Preparations: Search for Build Command and Publish Directory
First, we need to find the build command and output directory of your Netlify project:
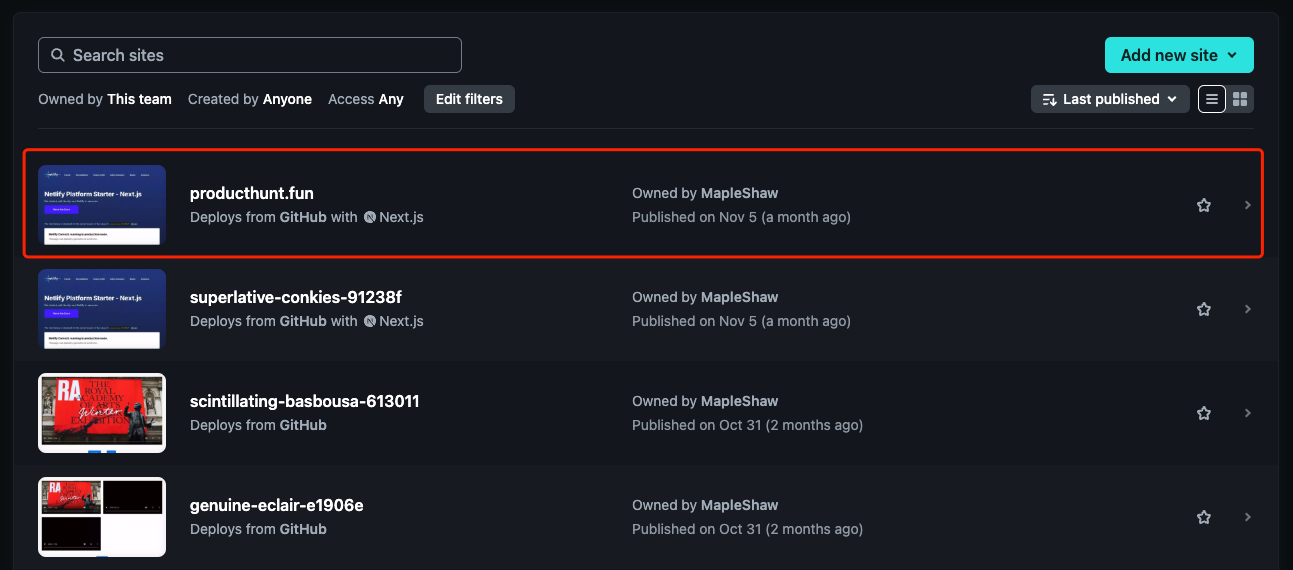
1. Log in to the dashboard and find the project to migrate.
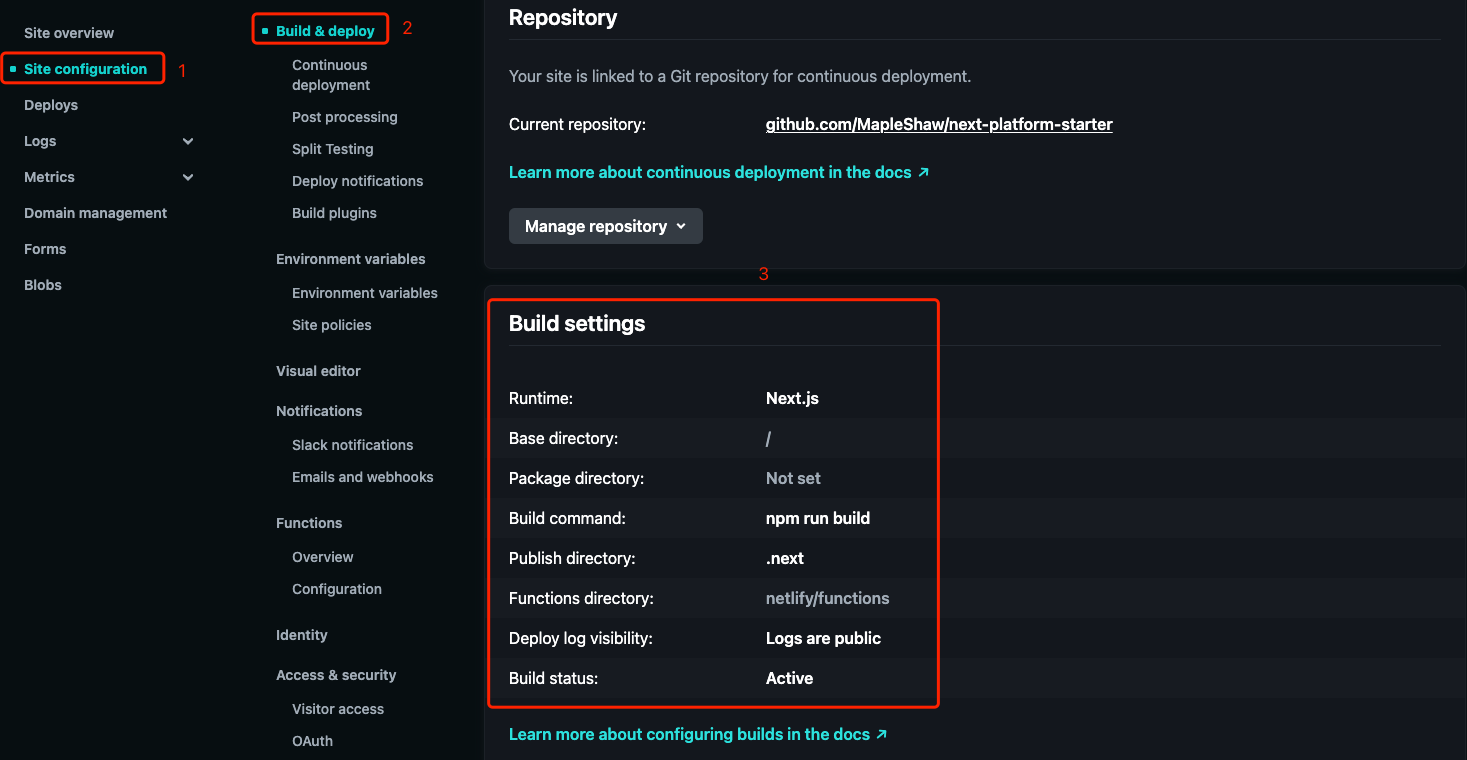
2. Enter Site configuration and select the Build and deploy option.
3. In the Build settings section, record the values of Build command and Publish directory.
Example:
Build command: npm run build
Publish directory: .next
This information will be used in project settings.
2.Configuration Migration: Handle Redirects and Headers
If your project uses _redirects and _headers files or has configured redirects and custom headers in the netlify.toml file, you need to migrate these configurations to the edgeone.json file of EdgeOne Pages.
Before migration, we need to understand your existing Netlify configuration and convert it into a format that Pages can understand.
The following is a comparison example of both.
Netlify.toml configuration for Netlify
[build]  command = "npm run build"  publish = "build"
[[redirects]]  from = "/articles"  to = "/blogs"  status = 301
[[headers]]  source = "/*"
  [[headers.headers]]    key = "X-Frame-Options"    value = "DENY"
  [[headers.headers]]    key = "Cache-Control"    value = "max-age=7200"
[[headers]]  source = "/assets/*"
  [[headers.headers]]    key = "Cache-Control"    value = "max-age=31536000"
In this example, we can see the configuration of build command, publish directory, redirect rules and custom headers.
In EdgeOne Pages, we need to create an edgeone.json file to include these configurations:
3.Function Migration: From Netlify to EdgeOne Pages
There are some differences in syntax and usage between the two platforms. Here is a simple comparison example:
Netlify edge function example:
exportdefaultasync(request, context)=>{
returnnewResponse("Hello, World!",{
headers:{"content-type":"text/html"},
});
};
Edgeone pages function example:
exportfunctiononRequest(context){
returnnewResponse("Hello, World!",{
headers:{"content-type":"text/html"},
});
}
Main Differences
1. Function Definition
1.1 1. Netlify uses the asynchronously exported default function.
1.2 Pages uses named onRequest functions (or onRequestGet, onRequestPost, etc.).
2. Parameters:
2.1 1. Netlify functions receive request and context as separate parameters.
2.2 Pages function receives a context object, which contains request.
3. Response method:
3.1 Both use the Response object to return responses, which is similar.
4. Runtime environment
4.1 1. Netlify Edge Functions use Deno runtime.
4.2 Pages Functions based on EdgeOne edge Functions, providing a Serverless code execution environment for EdgeOne edge nodes.
Migration suggestions
Change the default exported function to a named onRequest function
// Netlify
exportdefaultasync(request, context)=>{
// Function body
};
// EdgeOne Pages
exportfunctiononRequest(context){
// Function body
}
Adjust parameter usage
// Netlify
const{ geo }= context;
// EdgeOne Pages
const{ request }= context;
const geo = request.eo.geo;
Keep the usage of the Response object. This part basically does not need to change.
Check and adjust any Deno-specific API usage. Pages Functions may not support some Deno-specific features. You need to find alternatives. Contact us through the community.
File naming may need adjusting. Netlify uses the .js,.ts, or.edge.js suffixes, while Pages currently supports.js,.ts,.cjs,.jsx,.tsx.
2. Click "Create Project" and select your GitHub repository.
3. In project configuration, fill in the build command and publish directory recorded previously.
4. Click the "Start Deployment" button, and Pages will automatically build and deploy your project.
5.Domain Configuration: Adding a Custom Domain
There are some differences between Netlify and Pages in domain configuration:
1. Add a domain in Pages
1.1 In the console, add the same custom domain to your project.
2. Update DNS records:
2.1 If you use Netlify DNS, transfer the domain to another DNS provider.
2.2 If using external DNS, update existing records:
2.2.1 Change A records or ALIAS records to CNAME records.
2.2.2 Point the CNAME record to the domain provided by Pages.
3. Verify DNS settings:
3.1 Use dig or online DNS query tools to confirm that DNS changes have taken effect.
4. Wait for HTTPS certificate configuration:
4.1 Pages will automatically configure an HTTPS certificate for your domain.
For the detailed domain addition process, refer to the Domain Management document.
By completing the above steps, you have successfully migrated your Netlify project to EdgeOne Pages. The two platforms have similarities in some aspects. On a strong infrastructure, we have optimized Pages product features, such as intelligent refresh preheating, to provide an out-of-the-box experience. In addition, Pages has fewer restrictions compared to competitors during the beta phase, providing more flexibility for developers. In terms of customer support, we provide more timely responses, committed to providing developers with a high-quality product experience.